
DARK SOULS 3 Anor Londo: Walkthrough, Loot & Secrets
Explore DARK SOULS 3 Anor Londo with routes to Aldrich, the invisible bridge, Giant's Coal, Estus Shard, hidden rings, and Silver Knight farming tips.
Jump to
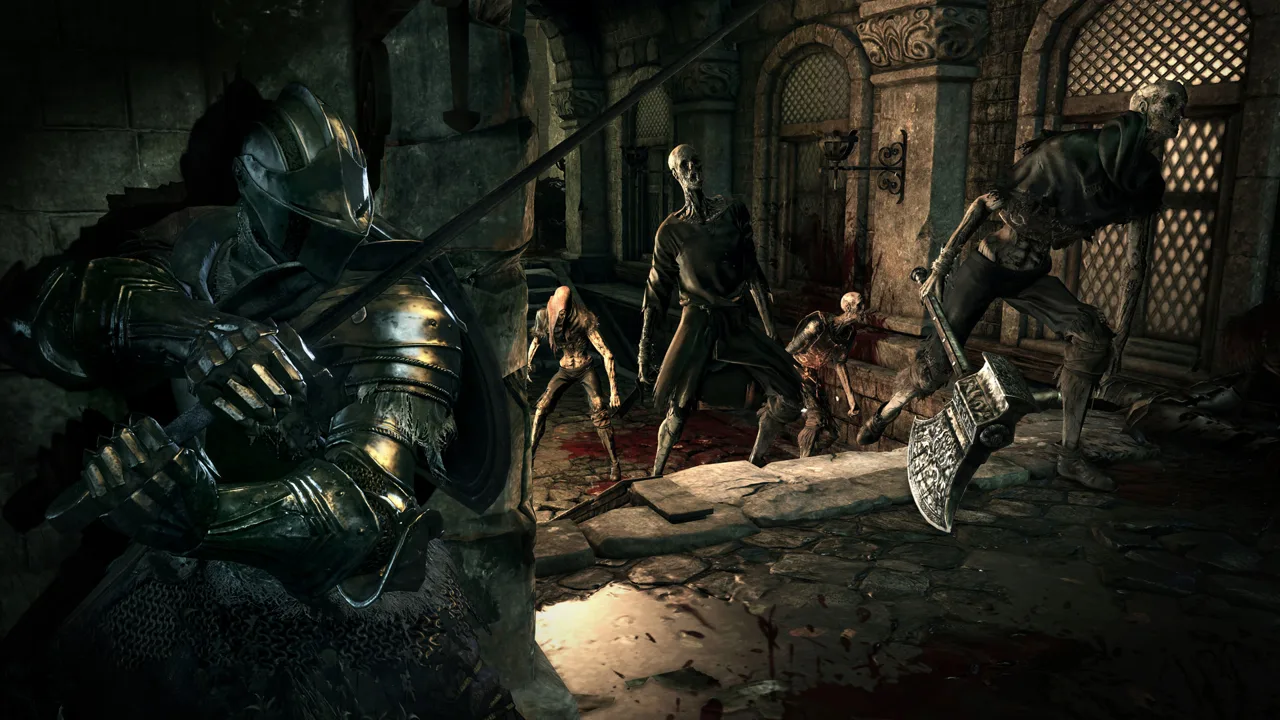
How to Reach Anor Londo
The DARK SOULS 3 Anor Londo area puts Silver Knights between you and a cathedral full of valuable loot. Inside, you can collect an Estus Shard and reach Aldrich, Devourer of Gods. The neighboring Prison Tower also hides a covenant behind an invisible walkway.
You reach the cathedral through Irithyll of the Boreal Valley after defeating Pontiff Sulyvahn:
- Leave Pontiff’s arena through the rear exit and cross the courtyard containing the giants.
- Enter the tower beyond the courtyard and climb toward the rooftops.
- Follow the flying buttresses past the Silver Knights carrying greatbows.
- Enter the building leading to the rotating staircase.
- Pull the lever outside to bring the staircase into position.
- Climb the staircase and operate its upper mechanism to raise it.
- Step onto the cathedral approach and light the Anor Londo bonfire.
Use the towers as cover while approaching the greatbow knights. Wait for an arrow to pass before committing to an exposed climb.
Official page: DARK SOULS™ III (bandainamcoent.com)
Find the Invisible Bridge and Prison Tower
Before climbing the cathedral steps, take the optional route to Company Captain Yorshka.
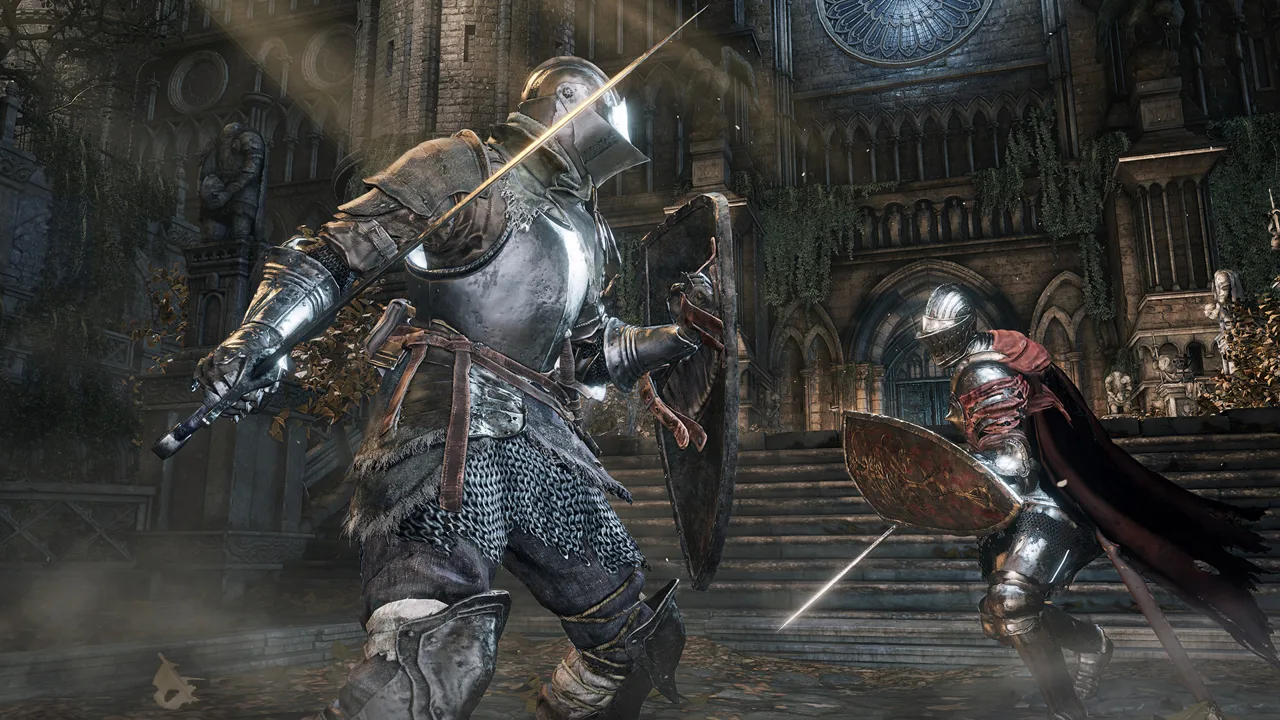 Image: Steam / FromSoftware, Inc.
Leave the rotating staircase raised at the Anor Londo level, then descend its spiral steps on foot. At the lower exit, a broken-looking walkway points into open air. An invisible path continues beyond its edge.
- Walk straight out from the lower platform.
- Keep your movement aligned with the walkway.
- Continue until you are alongside the Prison Tower balcony.
- Turn toward the balcony and drop onto it.
- Light the Prison Tower bonfire, then speak with Yorshka nearby.
The Darkmoon Loyalty gesture, learned from Sirris of the Sunless Realm, lets you pledge yourself to the Blades of the Darkmoon through Yorshka’s dialogue.
Keep Yorshka alive if you want covenant rewards. She accepts Proof of a Concord Kept, which you will later be able to farm from the cathedral’s Silver Knights.
Painting Guardian Equipment
Inside the tower, wooden platforms and beams form a descent toward a bonfire room in Irithyll of the Boreal Valley. Drop carefully between the ledges to collect:
- Painting Guardian’s Curved Sword
- Painting Guardian Set
Light the Prison Tower bonfire before attempting these drops so you have a convenient return point. After descending, warp back to Anor Londo to continue toward the cathedral.
Open the Cathedral Doors and Collect the Main Loot
The cathedral’s front doors are locked when you arrive. Your initial entrance is through the building on the left side of the main staircase.
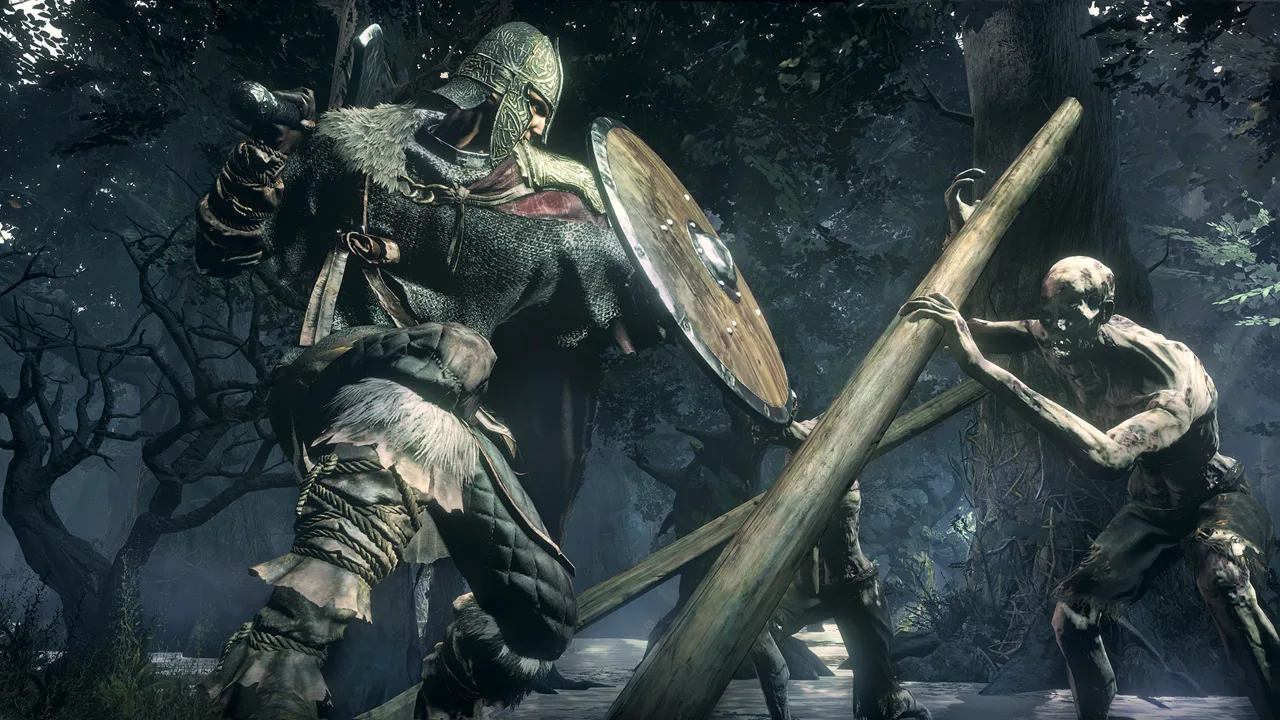 Image: Steam / FromSoftware, Inc.
Clear the Silver Knights
Climb from the bonfire and approach the two patrolling Silver Knights separately. Let the leading knight advance toward you before moving far enough uphill to engage the second.
An additional red-eyed Silver Knight guards the area to the right at the top. That side contains a Soul of a Crestfallen Knight; the left side has a Large Soul of a Weary Warrior.
For the main route, turn left and enter the open doorway.
Retrieve Giant’s Coal
Inside lies the dead Giant Blacksmith. Collect Giant’s Coal from his remains, then follow the stairs into the cathedral.
Bring the coal to Andre at Firelink Shrine.
Open the Shortcut
From the upper interior, descend toward the main hall. Deacons cast fireballs across the room, while slimes occupy the floor.
Clear the nearby casters before searching the corners. Near the cathedral’s front doors, a Deep Accursed drops from above. Its breath builds Curse, which kills you when the meter fills.
Back away from the breath cloud and attack during openings between its movements. Defeating it awards Aldrich’s Ruby. Operate the nearby door mechanism to open the main entrance and create a direct route from the bonfire.
Anor Londo Item Locations
| Item | Location | Function |
|---|---|---|
| Giant’s Coal | On the Giant Blacksmith’s remains in the left entrance building | Bring to Andre at Firelink Shrine |
| Estus Shard | In a chest along the main hall’s side wall near the entrance end | Collect before facing Aldrich |
| Proof of a Concord Kept | On a corpse near the deacons along the interior stairs | Covenant offering for Yorshka |
| Aldrich’s Ruby | Dropped by the Deep Accursed near the front doors | Reward for defeating the Deep Accursed |
| Moonlight Arrow ×5 | On the staircase opposite your initial interior route | Ammunition |
Collect the Estus Shard before beginning repeated boss attempts. After opening the front doors, search the nearby side wall and the space beneath the stairs rather than heading straight toward the fog.
Help Anri Defeat Aldrich
Anri of Astora has a separate Aldrich encounter tied to their questline. If you have progressed the quest to this encounter, their cooperation sign appears outside the cathedral’s main doors.
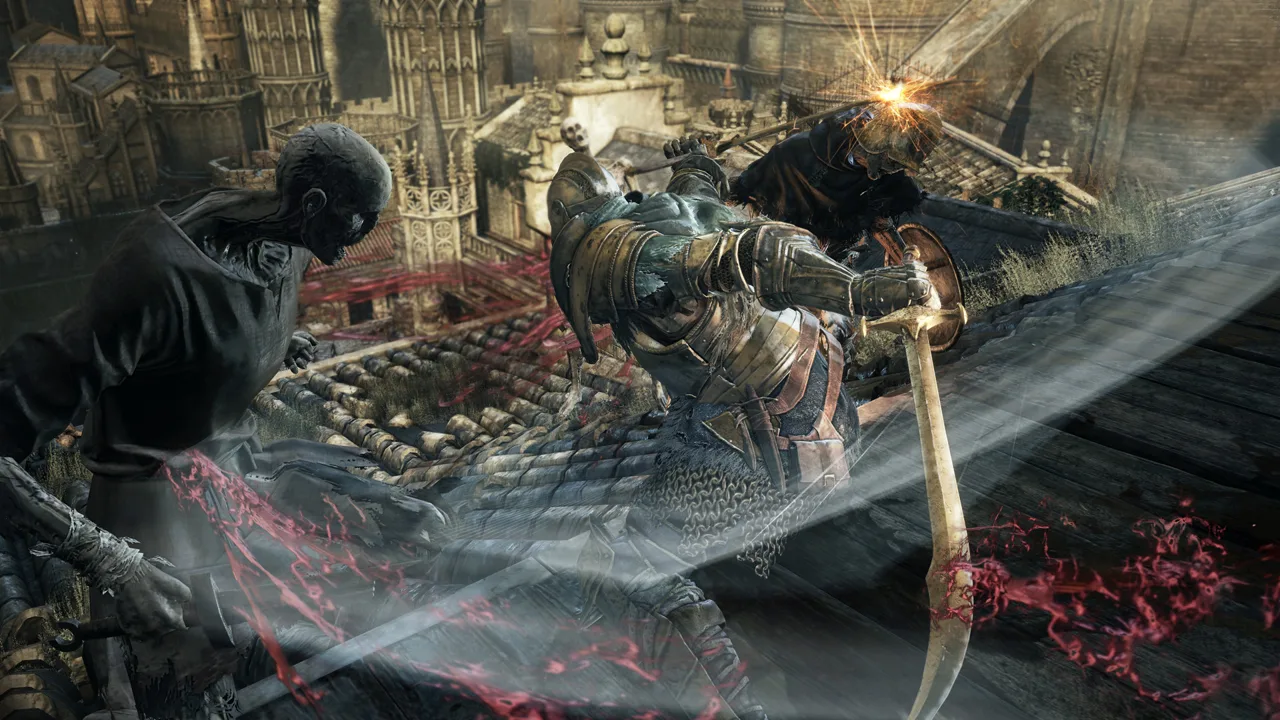 Image: Steam / FromSoftware, Inc.
Interact with the sign to enter Anri’s world and help defeat Aldrich.
This encounter works differently from summoning an ally into your game: you are helping Anri complete their fight. Winning does not defeat Aldrich in your own world.
Defeat Aldrich, Devourer of Gods
Aldrich waits beyond the main hall, with three deacons guarding the approach to the fog gate. Clear them before entering so you can begin the encounter with your attention on the boss.
Preparation
Keep enough stamina available to sprint when Aldrich raises his bow.
First Phase: Close the Distance Between Casts
Aldrich alternates ranged attacks with melee swings and disappears into the floor to reposition.
Advance after avoiding a spell volley, then attack during the recovery. When he vanishes, look toward the distant corners and prepare to close the gap again.
His bow signals a rain of arrows. Stop attacking when you see it rise and move out of the barrage before returning to melee range.
Avoid spending your entire stamina bar on damage. Save enough to retreat from his next attack.
Second Phase: Respect the Arrow Rain
Later in the fight, Aldrich gains fire effects and a more persistent arrow barrage. Sprint away from the pursuing arrows instead of trying to roll repeatedly in place.
Keep watching Aldrich while moving. Resume your approach once the barrage ends.
His Lifehunt Scythe also demands attention because a successful hit restores his health. Evade the sweep before committing to another attack sequence.
Rewards
Defeating Aldrich in your own world grants:
- Lord of Cinder: Aldrich, Devourer of Gods achievement
The achievement requires your own victory. Helping Anri does not replace this fight.
What to Do After Aldrich
Light the boss bonfire, then head to Gwynevere’s former chamber above Aldrich’s arena.
That chamber also matters for Ringfinger Leonhard’s questline. Once you have obtained the Black Eye Orb from Rosaria’s body through the quest, bring it here and use it when it reacts. Defeating Leonhard in his world awards Rosaria’s Soul, the Crescent Moon Sword, and the Silver Mask.
To explore Irithyll Dungeon, travel to the Distant Manor bonfire, then descend the stairs and follow the cliffside path to the dungeon entrance.
Return through the bonfire travel menu to collect anything left behind.
Farm Proof of a Concord Kept From Silver Knights
The two Silver Knights on the main staircase provide a compact offline farming loop for Proof of a Concord Kept. Both the spear knight and sword knight can drop the item.
Their base drop chance is 1%, so increase Item Discovery before settling into a long session.
Useful equipment includes:
- Symbol of Avarice: Increases Item Discovery but drains HP.
- Crystal Sage’s Rapier: Provides an Item Discovery bonus when equipped in your offhand.
- Covetous Gold Serpent Ring: Increases Item Discovery.
- Rusted Coin: Use during the farming loop to increase Item Discovery.
For the loop, start at the Anor Londo bonfire, kill the two staircase knights, collect their drops, and return to rest. Skip the red-eyed knight unless you can defeat it quickly enough to justify the detour.
Bring the offerings to Yorshka:
| Total Proofs Offered | Reward |
|---|---|
| 10 | Darkmoon Ring |
| 30 | Darkmoon Blade |
The 30-proof requirement is cumulative. You need 20 more after earning the ring, rather than another 30.
Why Anor Londo Looks Different From Dark Souls
The cathedral, monumental staircase, and rotating tower make the return recognizable. Rubble blocks former passages, deacons occupy the interior, and Aldrich inhabits the chamber where Ornstein and Smough once stood.
The Giant Blacksmith’s remains give that change a personal weight. His workshop still contains something useful, but its craftsman is gone.
Aldrich is devouring Dark Sun Gwyndolin. The former city of the gods has become the feeding ground of a Lord of Cinder.
The tower beside the rotating staircase offers the other surviving thread: Yorshka still leads the Blades of the Darkmoon from her isolated perch.
Continue with
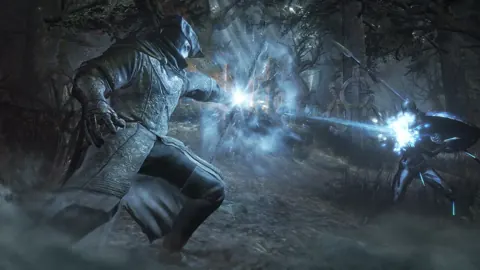 DARK SOULS 3 Irithyll of the Boreal Valley Route GuideExplore DARK SOULS 3 Irithyll of the Boreal Valley with routes to Pontiff Sulyvahn, hidden items, bonfire shortcuts, and tips to protect NPC questlines.
More in Maps
See all MapsContinue exploring
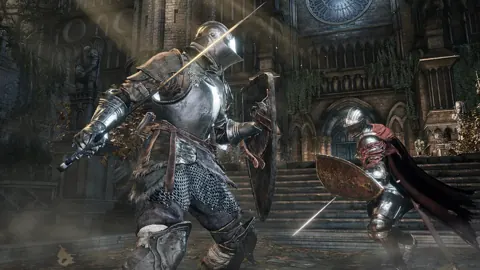
DARK SOULS 3 Aldrich Guide: Weaknesses and Arrow Tips
Beat DARK SOULS 3 Aldrich with tips for both phases, his tracking arrow barrage, useful weapons, spell counters, Anor Londo shortcuts, and boss rewards.
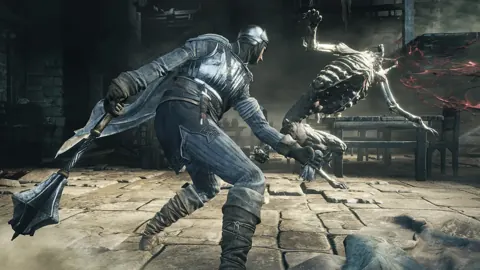
DARK SOULS 3 Covenants: Locations, Rewards, and Ranks
Explore DARK SOULS 3 covenants, find every faction, compare rewards, and learn how to farm covenant items while avoiding Sirris and Mound-Makers lockouts.
Join the community
Official channels for news, updates and player help: