DARK SOULS 3 Map Guide: Area Order and Hidden Routes
Explore the DARK SOULS 3 map with area progression, hidden entrances, bonfire shortcuts, and DLC routes to find your next destination and avoid dead ends.
Jump to
How the World Connects
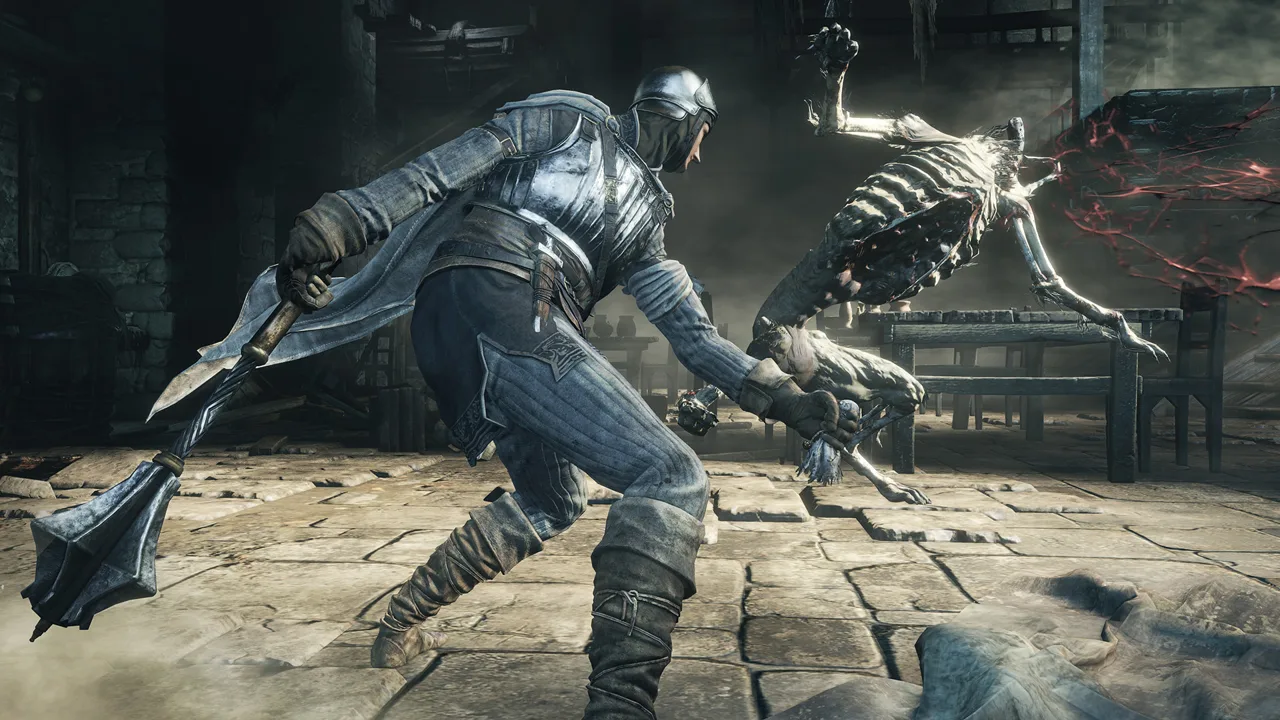
A locked gate can send you searching through the wrong kingdom for hours. This DARK SOULS 3 map guide lays out the main route, the branches that matter, and the hidden entrances that are easy to walk past. Use it to choose your next destination before spending another Estus Flask retracing familiar ground.
There are three useful ways to read the world:
- Progression maps show which areas connect and which bosses or items block the next route.
- Area maps show bonfires, loot, enemies, elevators, and individual shortcuts.
- World maps help you recognize distant landmarks and understand how the regions sit around Lothric.
Start with progression when you are unsure where to go. Switch to an area layout when you know your destination but cannot find the staircase, ladder, or doorway that reaches it.
Return to Firelink Shrine to purchase items and speak with rescued NPCs.
Official page: DARK SOULS™ III (bandainamcoent.com)
Main Area Order and Progression Gates
The route branches at several points. Cathedral of the Deep ends at the Deacons of the Deep encounter. Aldrich, Devourer of Gods waits in Anor Londo, while Yhorm the Giant waits in the Profaned Capital.
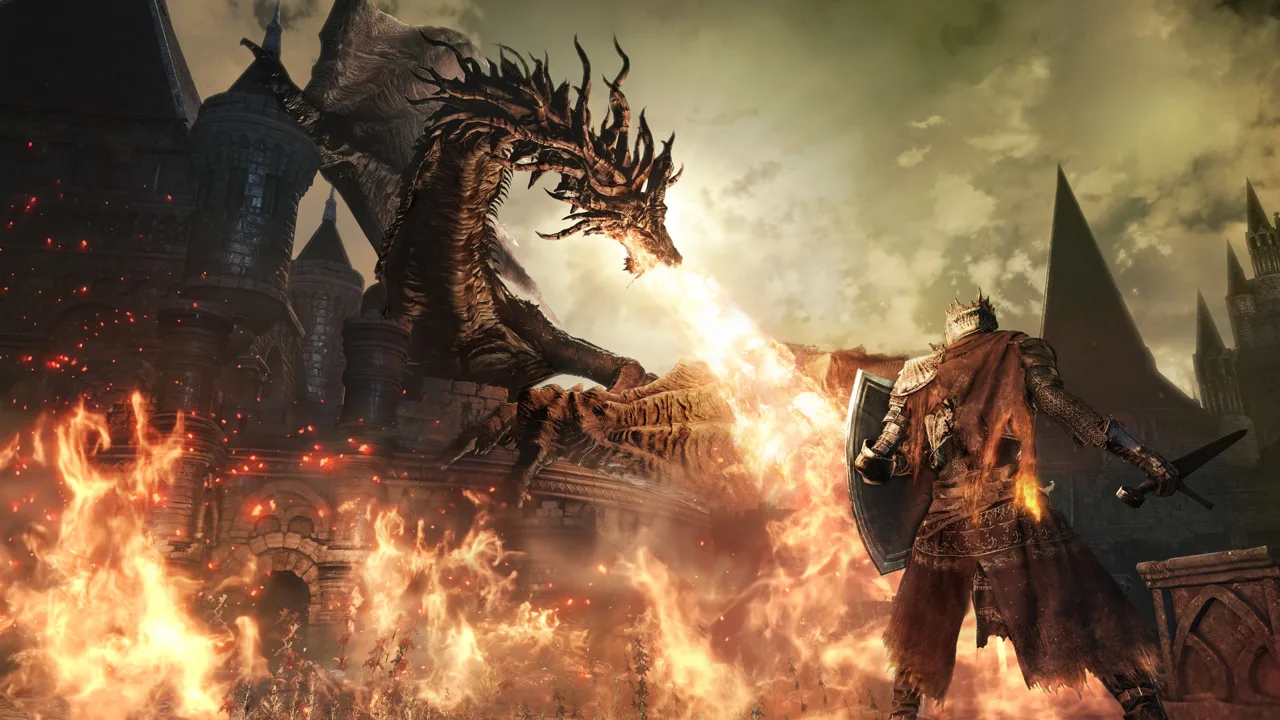 Image: Steam / FromSoftware, Inc.
| Area or route | Objective | Connection or key reward |
|---|---|---|
| Cemetery of Ash → Firelink Shrine | Defeat Iudex Gundyr | Access to Firelink Shrine |
| High Wall of Lothric | Defeat Vordt of the Boreal Valley | Soul of Boreal Valley Vordt |
| Undead Settlement | Find Cornyx in his cage | Pyromancy teacher at Firelink Shrine |
| Road of Sacrifices → Cathedral of the Deep | Defeat Crystal Sage and follow the onward path | Cathedral approach and Cleansing Chapel |
| Cathedral of the Deep | Defeat the Deacons of the Deep | Soul of the Deacons of the Deep |
| Road of Sacrifices → Farron Keep | Reach the ladder guarded by the two Exiles | Poison swamp |
| Farron Keep → Catacombs of Carthus | Defeat the Abyss Watchers | Passage beneath the boss chamber |
| Catacombs of Carthus | Search High Lord Wolnir’s arena | Grave Warden Pyromancy Tome |
| Irithyll of the Boreal Valley | Defeat Pontiff Sulyvahn | Soul of Pontiff Sulyvahn |
| Profaned Capital | Defeat Yhorm the Giant | Soul of Yhorm the Giant |
| High Wall return → Lothric Castle → Grand Archives | Face Dancer of the Boreal Valley and Dragonslayer Armour | Twin Princes in Grand Archives |
| Kiln of the First Flame | Travel to the Kiln of the First Flame | Soul of Cinder |
Lothric Castle contains the Altar of Sunlight and the Dragonslayer Armour encounter.
Face the Curse-rotten Greatwood in Undead Settlement.
Reading Maps in Areas With Multiple Floors
A path drawn beside your position may actually sit above your head. Cathedral of the Deep and Grand Archives stack routes vertically, making a flat diagram easy to misread.
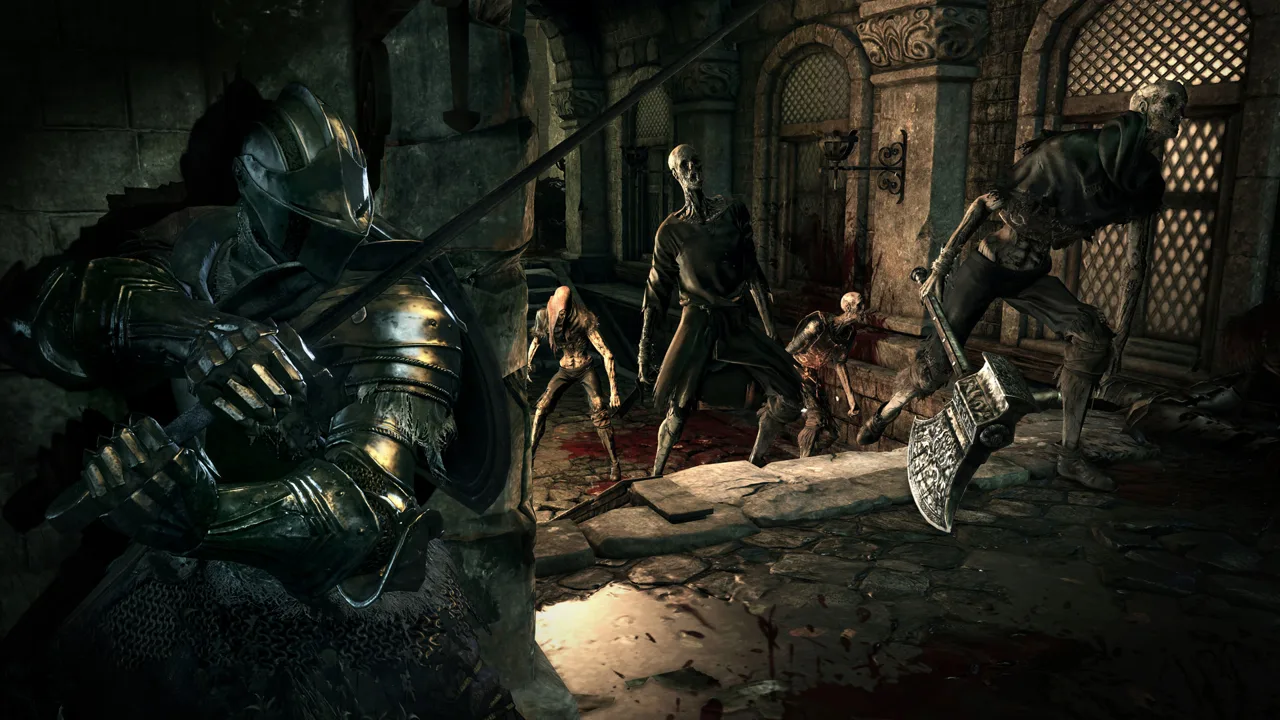 Image: Steam / FromSoftware, Inc.
Before following a line across a map, identify the transition that reaches it: stairs, a ladder, an elevator, or a drop. Two overlapping corridors do not necessarily meet.
Use this sequence when you lose your bearings:
- Find a fixed landmark. Match a tower, bridge, cathedral entrance, or other permanent structure to the layout.
- Identify your floor. Check whether you are on the ground, a balcony, the roof, or the rafters.
- Trace one connection at a time. Follow the next doorway or staircase before looking farther ahead.
- Record one-way drops. Plan the return route before leaving a ledge.
Keep the camera’s direction separate from the diagram’s orientation. Turning your character does not change where the cathedral or elevator tower sits.
Use narrow doorways and stairs to manage fights along your route. Pull enemies toward those passages to reduce the chance of being surrounded, while leaving yourself room to retreat.
Early Areas: High Wall and Undead Settlement
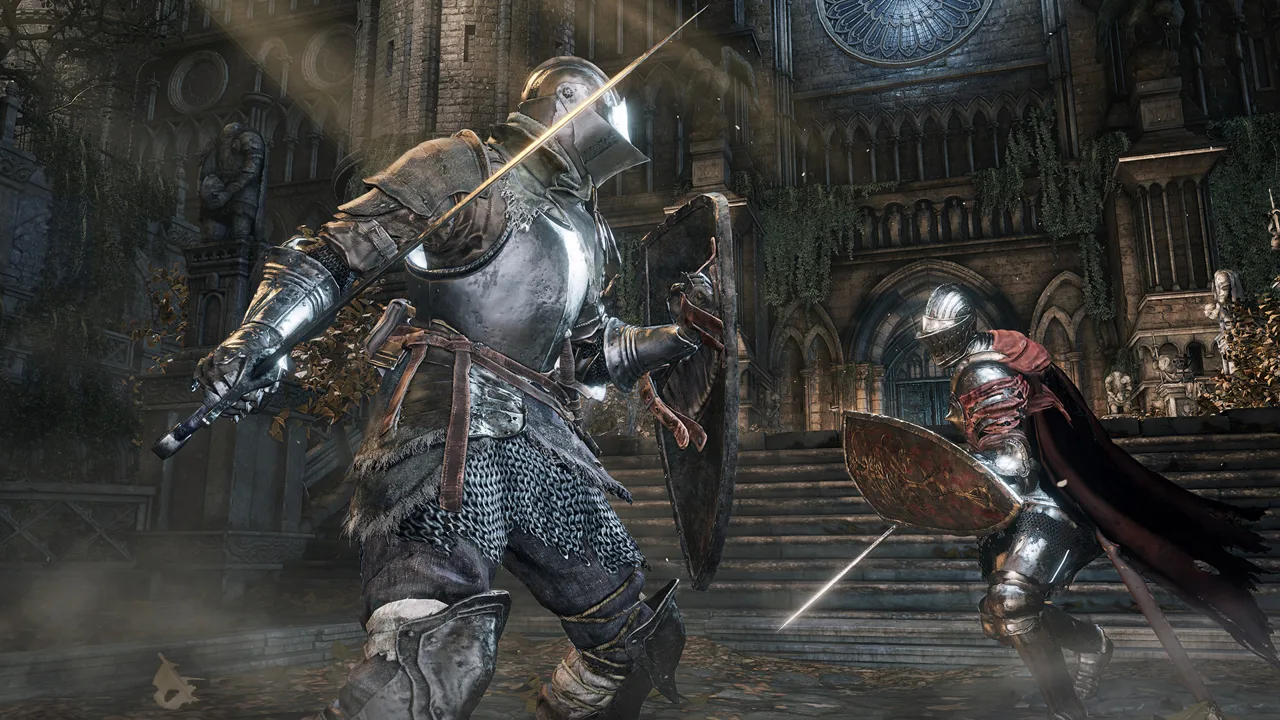 Image: Steam / FromSoftware, Inc.
High Wall of Lothric
The High Wall moves between ramparts, interiors, rooftops, and courtyards. Use Tower on the Wall as a reference point while exploring the surrounding buildings.
Two pickups belong on your early checklist:
- Estus Shard: In the large indoor room reached after descending from the rooftops.
- Cell Key: Down a small staircase in that same room.
Take the key back to Greirat’s cell beneath Tower on the Wall. Accepting his request sends him to Firelink Shrine and gives you the Blue Tearstone Ring.
Speak with Emma to discover the Way of Blue covenant.
Undead Settlement
The burning tree marks an important crossroads. An Estus Shard lies at its base, while the nearby houses and bridge lead toward different NPCs and side routes.
Check these locations before leaving:
- Cliff Underside: Near the firebomb throwers, carefully edge off beside the house and enter the lower room containing the bonfire.
- Cornyx: Explore the rooftops above Cliff Underside and speak with him in his cage.
- Dilapidated Bridge: Light this bonfire while exploring Undead Settlement.
Undead Settlement contains a double elevator. Drop off the elevator onto the ledge to find Siegward before helping him fight the Fire Demon.
For the early Mound-Makers entrance, inspect the cage carried by the nonhostile cage-bearing enemy before defeating the Curse-rotten Greatwood.
Midgame Branches: Cathedral, Farron Keep, and Carthus
Cathedral of the Deep
Treat Cleansing Chapel as the center of the area. Exploration opens routes back to it, so returning to the chapel often means you have secured a useful shortcut.
Separate the cathedral into distinct layers: the exterior approach, the interior floor and balconies, and the roof and rafters. Rosaria occupies her chamber inside the cathedral.
Open shortcut doors as you encounter them. Search outside the chapel for the Estus Shard, and check the graveyard ledge near the white birch tree for an Undead Bone Shard.
Farron Keep
Farron Keep is a ruined fortress partially submerged in a poisonous swamp.
Use the elevated road, central tower, and gate to keep your bearings. Break exploration into trips between recognizable structures instead of crossing the swamp without a destination.
The Old Wolf of Farron occupies the tower reached by a long ladder.
Near the large gate, search the small tower filled with slugs for an Undead Bone Shard.
Locate Farron Keep Perimeter before confronting the Abyss Watchers.
Catacombs of Carthus
The catacombs contain the High Lord Wolnir encounter and an optional descent:
- High Lord Wolnir: Find the boss encounter in the chamber containing the skull goblet.
- Below the suspension bridge: Descend toward Smouldering Lake.
To reach the lower branch, cross the suspension bridge to the boss side, break it, and wait for it to settle. Climb down the hanging bridge, then continue through the chamber below toward the Abandoned Tomb bonfire.
If you are following Anri’s quest, resolve the Horace encounter and the relevant conversation before progressing beyond Wolnir. Do not tell Anri where Horace is while he remains alive and hostile.
Late Areas: Irithyll Dungeon and Grand Archives
Irithyll’s Two Routes
Use Church of Yorshka and Distant Manor as landmarks while exploring Irithyll. Pontiff Sulyvahn occupies the city’s large church.
In Anor Londo, search the Giant Blacksmith’s tower for the Giant’s Coal and the cathedral interior for an Estus Shard.
Irithyll Dungeon and Profaned Capital
Track the dungeon by floor and shortcut elevator. Approach cells from their connecting walkways, and mark locked doors for a return trip after collecting keys.
Search beside the Profaned Capital bonfire for the corpse holding an Undead Bone Shard.
Lothric Castle and Grand Archives
At Dragon Barracks, inspect the ledges beneath the bridge guarded by the two wyverns. The Undead Bone Shard sits under the far end.
In Grand Archives, follow the ascent through the library, rooftops, and upper approaches while opening elevator shortcuts. Track interior floors separately from the roof sections.
Two healing upgrades are worth marking:
- Undead Bone Shard: On an upper balcony near a broken window.
- Estus Shard: On the upper rooftop near the area with the three golden Winged Knights.
Across the base game, there are 11 Estus Shards and 10 Undead Bone Shards.
Hidden Optional Areas and Their Entrances
Smouldering Lake
Descend the broken bridge in the Catacombs of Carthus and continue past Abandoned Tomb.
The open lake is only part of the area. The Demon Ruins below contain branching corridors, illusory walls, and healing upgrades.
Let the ballista break the brick wall concealing the Speckled Stoneplate Ring before disabling it. Its bolts can also break the stone floor that opens a route into the ruins.
Consumed King’s Garden and Untended Graves
Find Oceiros, former king of Lothric, in the lower gardens.
Archdragon Peak
Archdragon Peak occupies a rocky summit with ancient temples and Man-serpents. The Nameless King guards this area.
DLC Routes: Ariandel, the Dreg Heap, and the Ringed City
Painted World of Ariandel
With Ashes of Ariandel installed, speak with Slave Knight Gael at Cleansing Chapel to enter the painting.
Use Ariandel Chapel and the suspension bridge as major landmarks. The route through Corvian Settlement and Snowy Mountain Pass eventually loops toward the chapel’s lower chambers.
For the optional frozen lake branch, break the suspension bridge near the chapel, descend it, and follow the roots downward to Depths of the Painting. That route leads toward Champion’s Gravetender and Gravetender’s Greatwolf.
In Snowy Mountain Pass, push over the designated trees to open shortcuts. Inside the fly-filled lower chamber, activate the mechanism that opens the chapel passage toward Sister Friede and Father Ariandel.
The Dreg Heap
The Dreg Heap descends through collapsed buildings, Earthen Peak Ruins, swamp, and giant roots. Follow the ash landings and root paths carefully; drops are central to navigating this area.
Find and kill the creatures controlling the angels to stop their attacks while exploring.
The Ringed City
The opening approach is covered by summoned archers. Move between the stone barriers, then use the side route to advance along the wall.
Farther in, Ringed City Streets anchors exploration around the swamp.
Darkeater Midir’s boss arena has a separate entrance. After knocking him from the bridge, explore the elevator connecting back toward Ringed Inner Wall. Leave the elevator at the intermediate opening, strike the illusory statue, and follow the passage to the drop into his arena.
The main route continues through the church encounter and up to Filianore, eventually reaching the ash-covered landscape where Slave Knight Gael waits.
Continue exploring
DARK SOULS 3 Beginner Guide: Survive Your First Hours
Use this DARK SOULS 3 beginner guide to choose a class, level smarter, upgrade weapons, manage Estus, and learn combat before taking on Lothric's bosses.

DARK SOULS 3 Best Strength Weapons: 11 Powerful Picks
Find the DARK SOULS 3 best strength weapons, compare stat requirements and infusions, and choose powerful swords, axes, and hammers for your next build.
Join the community
Official channels for news, updates and player help: