
DARK SOULS 3 Aldrich Guide: Weaknesses and Arrow Tips
Beat DARK SOULS 3 Aldrich with tips for both phases, his tracking arrow barrage, useful weapons, spell counters, Anor Londo shortcuts, and boss rewards.
Jump to
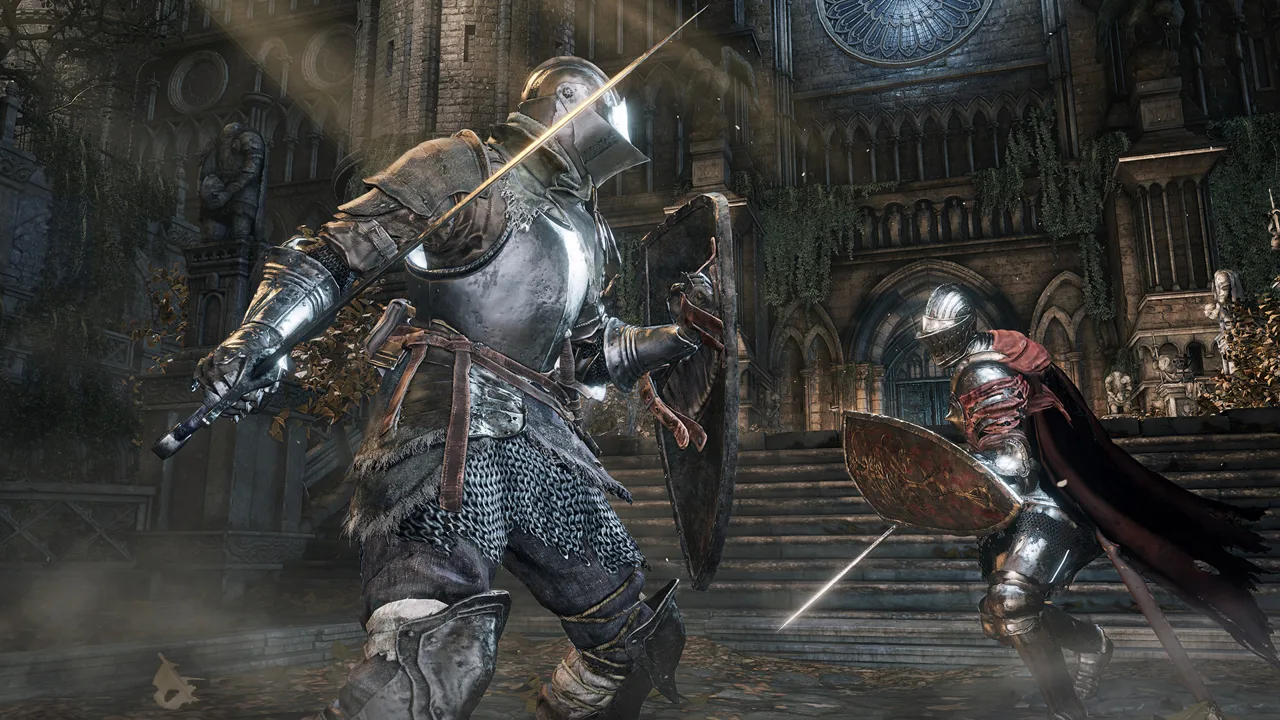
How to Beat Aldrich in Anor Londo
The DARK SOULS 3 Aldrich fight can unravel the moment his arrows start chasing you. Beat this mandatory Lord of Cinder by closing the distance, attacking during short openings, and disengaging immediately when his second-phase bow appears. Learning that change in rhythm keeps an otherwise manageable encounter from becoming a desperate sprint through overlapping spells.
Aldrich, Devourer of Gods waits inside Anor Londo’s cathedral, in the hall where Ornstein and Smough fought in the original game. His first-playthrough health is 4,727 HP, but his ranged attacks can punish mistakes before you have time to heal.
Use this basic sequence throughout the fight:
- Close the gap while watching for incoming projectiles.
- Move around his side and attack the tail or exposed upper body.
- Back away when he prepares to disappear.
- Locate his next appearance and approach again.
- Abandon your attack whenever the tracking arrow barrage begins.
Open the Cathedral Shortcut
From the Anor Londo bonfire, climb the staircase past the Silver Knights. Take the entrance on the left, pass the dead Giant Blacksmith, and follow the stairs into the cathedral.
Inside, activate the mechanism that opens the large front doors. This shortens subsequent trips from the bonfire. Watch for the Deep Accursed near the entrance, and collect the Estus Shard from the chest in the main hall before committing to repeated attempts.
Official page: DARK SOULS™ III (bandainamcoent.com)
Aldrich’s Weaknesses and Useful Equipment
 Image: Steam / FromSoftware, Inc.
Fire damage is a strong choice against Aldrich, including during his fiery second phase. His transformation adds hazards without removing that weakness.
| Damage or equipment | Effect in this fight |
|---|---|
| Fire | Exploits an elemental weakness |
| Lightning | Another useful elemental option |
| Thrust attacks | Effective physical damage |
| Farron Greatsword | Gains bonus damage against his abyssal enemy type |
| Wolf Knight’s Greatsword | Also benefits from his abyssal classification |
| Magic and Dark | Face substantial resistance |
| Bleed and Frost | Face resistance |
| Poison and Toxic | Have no effect |
For melee builds, bring an upgraded weapon whose moveset you already understand. Apply Charcoal Pine Resin or Gold Pine Resin if your weapon accepts buffs. Avoid switching to an unfamiliar, poorly upgraded weapon solely to match a weakness.
The human upper body takes more damage than the sludge tail, with the head offering an especially valuable target. Attack the torso when an opening gives you access; use the tail when positioning matters more. The tail’s large hitbox makes it convenient to punish him while staying farther from his weapon.
For defense and stamina management:
- Use Blue Bug Pellets to reduce incoming magic damage.
- Equip the Chloranthy Ring or use Green Blossoms to improve stamina recovery.
- Consider Red Bug Pellets if the second-phase fire is wearing you down.
- Remove the Crown of Dusk if its increased magic damage taken is making his spells lethal.
Keep enough stamina available to escape after attacking. Emptying the bar on his tail leaves you exposed when he raises his staff or draws his bow.
Phase One: Close the Distance and Watch His Staff
Approach promptly when you enter, but keep watching Aldrich rather than sprinting blindly into his opening spell. Fighting near his side or tail reduces the distance you must cover between attack opportunities.
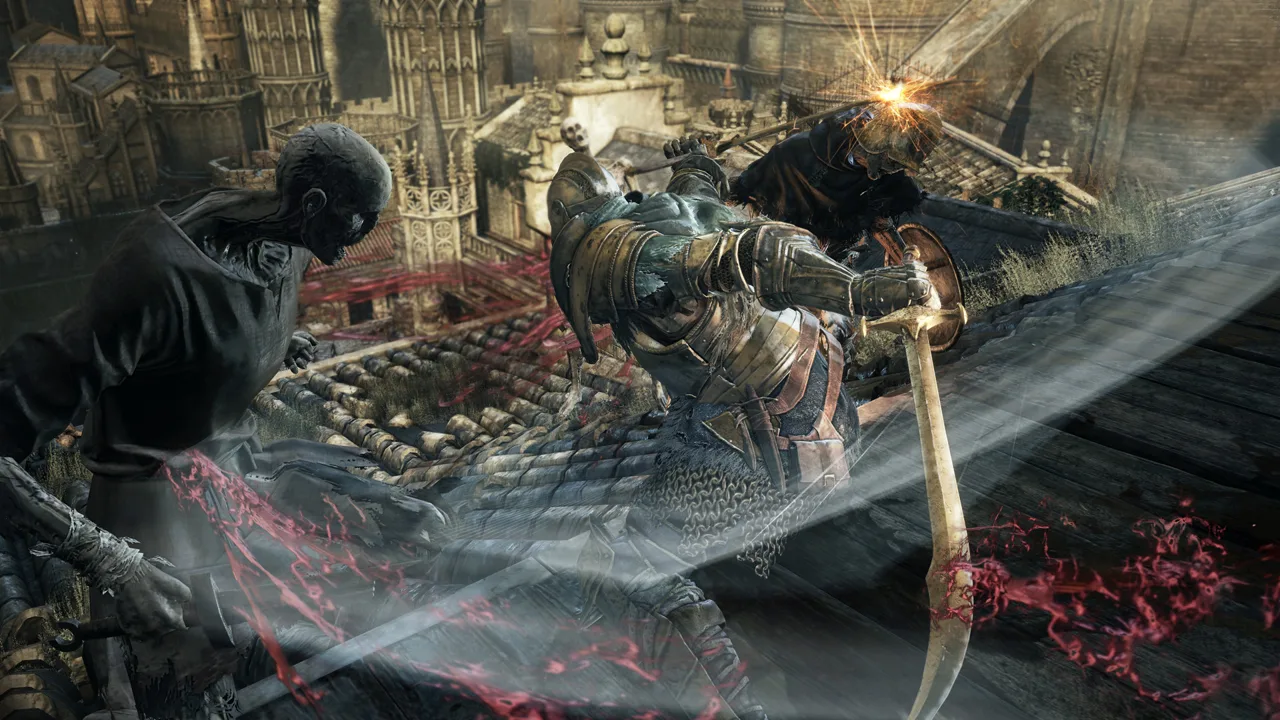 Image: Steam / FromSoftware, Inc.
Start with one or two hits, then watch his response. His melee swings are slow enough to read, but they hit hard and can reach farther than his sluggish movement suggests.
| Attack | Tell | Counter |
|---|---|---|
| Soul Spear | A brief charge before a large projectile fires | Dodge sideways as it approaches; pillars will not stop it |
| Homing projectiles | Small glowing projectiles gather around him | Keep moving and use pillars to intercept them |
| Horizontal weapon swing | His weapon winds up for a broad sweep | Roll through the swing toward his side |
| Forward lunge | A short preparation before he thrusts ahead | Dodge to the side |
| Arrow barrage | He produces the bow and fires upward | Move around behind him, outside the forward-moving barrage |
| Teleport vortex | He raises his staff and begins sinking | Leave the area around the portal before continuing your pursuit |
Use Pillars Selectively
Pillars can block the small homing projectiles, giving you room to reposition. Soul Spears pass through them, so keep watching the boss even when you have cover.
Heal after you have cleared the active attack. Drinking while homing projectiles are still approaching can turn a recovery attempt into another hit.
Handle His Teleport
The disappearance itself is dangerous. Stop attacking when the staff lift and ground effect begin, then move away from the vortex.
Aldrich tends to reappear toward a distant corner. Move toward the center, scan the room, and approach once you identify his position. Reaching him promptly limits the time he has to pressure you from range.
Phase Two: Survive the Tracking Arrow Barrage
At roughly 60% health remaining, Aldrich can disappear and return surrounded by fire. His reappearance creates additional danger, homing projectiles become more prominent, and his arrow attack changes dramatically.
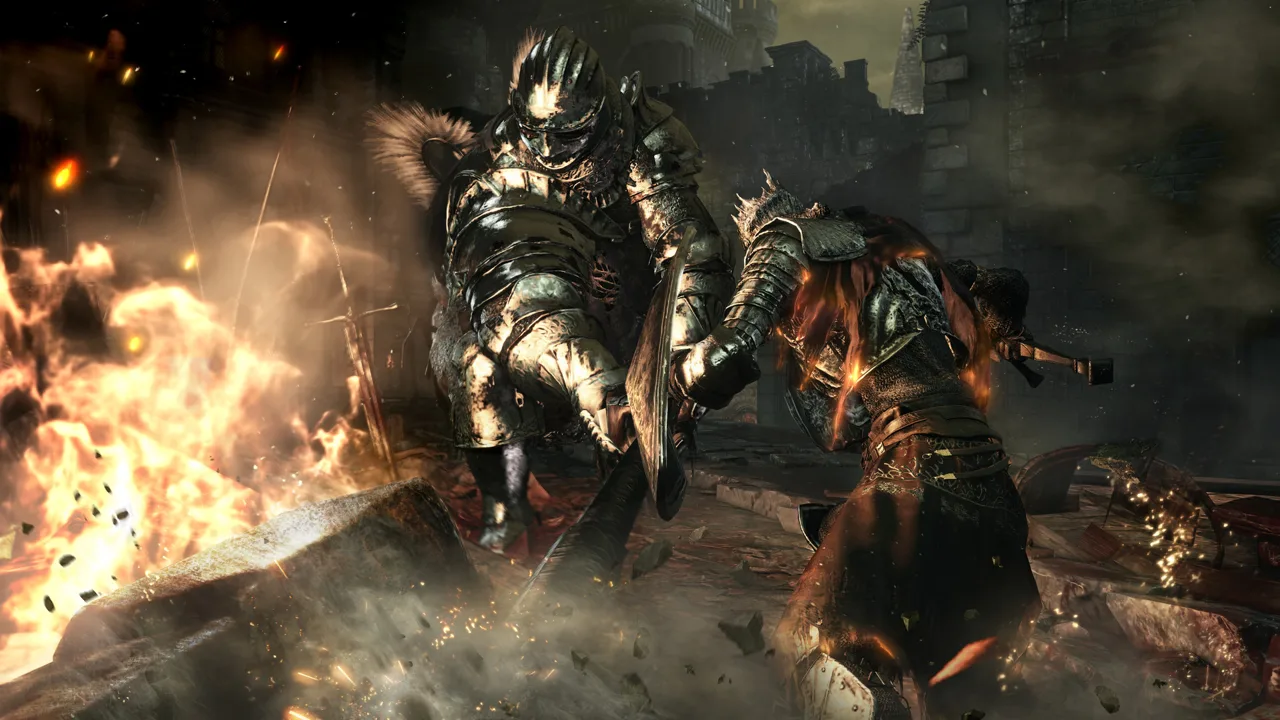 Image: Steam / FromSoftware, Inc.
Keep using short attack windows, but leave yourself room to run. Avoid lingering in the flames beneath and around him while watching his upper body for the bow animation.
How to Avoid Aldrich’s Arrows
In phase one, the arrows travel forward in an expanding pattern. In phase two, the barrage tracks you and lasts much longer.
As soon as he raises the bow:
- Stop attacking.
- Sprint away along an open route through the hall.
- Follow a broad loop so you have space to keep moving.
- Watch Aldrich for Soul Spears while the arrows pursue you.
- Return to melee range only after the barrage ends.
Avoid getting trapped between a pillar and a wall. Give yourself enough turning space to maintain movement without running back into the trailing arrows.
Use rolls to dodge individual Soul Spears when necessary. Repeatedly rolling in place leaves you inside the barrage’s path and spends stamina you need for escape.
Watch for Overlapping Spells
Aldrich can fire Soul Spears while the arrows are active. Keep him visible as you run so you can react to the next projectile instead of focusing entirely on the floor behind you.
He can also produce a Lifehunt Scythe and perform two sweeping spins. Connecting with this attack restores some of his health. Watch the scythe form on his weapon, evade both sweeps, and punish the recovery.
Pyromancy, Sorcery, and Vow of Silence
Pyromancy
Use fire spells such as Chaos Bed Vestiges to exploit Aldrich’s weakness. Upgrade your Pyromancy Flame, and equip the Great Swamp Ring and Witch’s Ring if they are part of your available equipment.
Cast during a clear recovery window. His large body is easy to target, but standing still for another cast becomes dangerous when homing projectiles or arrows are already active.
Sorcery
Aldrich’s magic resistance makes a straightforward exchange of ranged spells costly. Pestilent Mist offers an alternative when you can keep him inside its area.
Place the mist during a stationary opening, then concentrate on avoiding his response. Do not stay beside him merely to preserve damage when he begins the tracking barrage.
Twisted Wall of Light can deflect the small homing projectiles and the arrow barrage. It does not protect you from Soul Spears, so continue watching for those larger shots.
Vow of Silence
Vow of Silence suppresses most of Aldrich’s magical attacks, including his arrows, homing projectiles, and Soul Spears. For a character with access to the miracle, it can remove much of the pressure that defines this encounter.
Its duration is short. Use the opening to attack with your weapon, then find a safe moment to renew the effect. Continue respecting his physical swings rather than treating the silence as complete protection.
Rewards, Anri’s Fight, and Where to Go Next
Defeating Aldrich awards 50,000 souls on the first playthrough.
Return the Cinders to his throne at Firelink Shrine. After the fight, use either side elevator in the arena to reach Gwynevere’s former chamber and collect the Sun Princess Ring, which restores 2 HP per second.
Anri’s Aldrich Encounter
Anri of Astora can summon you for assistance against Aldrich.
Progression After Aldrich
Your next destination depends on which Lords you have already defeated. If Yhorm remains alive, continue through Irithyll Dungeon toward the Profaned Capital.
If Aldrich completes your victories over the Abyss Watchers, Yhorm, and Aldrich, you will be transported to Emma at the High Wall of Lothric. You can leave and prepare before approaching the statue that triggers the Dancer encounter.
Who Aldrich Is—and Why He Looks Like Gwyndolin
Aldrich’s appetite for humans transformed him into a mass of sludge and remains.
The human figure rising from the sludge is Gwyndolin, whom Aldrich is consuming and manipulating. That explains the familiar bow and magical attacks: the creature below is using the god’s body to fight.
His Lifehunt Scythe also connects to a dream of a pale girl in hiding, encountered while he consumed Gwyndolin.
That history gives the arena its horror. The Aldrich Faithful guard the old cathedral, bones cover the floor, and the god who once belonged to Anor Londo has become part of the monster waiting inside.
Continue with
 DARK SOULS 3 Gael Guide: Weaknesses, Phases, and LootMaster the DARK SOULS 3 Gael fight with phase-by-phase tactics, weaknesses, weapon tips, and rewards. Learn how to handle his cape and lightning attacks.
More in Bosses
DARK SOULS 3 Abyss Watchers: How to Beat Both Phases
Beat the DARK SOULS 3 Abyss Watchers with phase-by-phase tactics, lightning weakness tips, summon locations, and ways to survive the flaming sword phase.

DARK SOULS 3 Lore of the Main Bosses: Stories Explained
Explore DARK SOULS 3 lore of the main bosses, from the Lords of Cinder to Gael. Learn their backstories, connections, and the tragedies behind each fight.
DARK SOULS 3 Nameless King: Boss Strategy and Rewards
Beat the DARK SOULS 3 Nameless King with phase-by-phase tactics, elemental weaknesses, gear tips, and attack openings. Find his arena and claim rewards.

DARK SOULS 3 Sister Friede: How to Beat All Three Phases
Beat DARK SOULS 3 Sister Friede with phase-by-phase tactics, invisibility counters, gear tips, Gael summon details, and a breakdown of her boss rewards.
Continue exploring
DARK SOULS 3 Irithyll of the Boreal Valley Route Guide
Explore DARK SOULS 3 Irithyll of the Boreal Valley with routes to Pontiff Sulyvahn, hidden items, bonfire shortcuts, and tips to protect NPC questlines.
DARK SOULS 3 Beginner Guide: Survive Your First Hours
Use this DARK SOULS 3 beginner guide to choose a class, level smarter, upgrade weapons, manage Estus, and learn combat before taking on Lothric's bosses.
Join the community
Official channels for news, updates and player help: