DARK SOULS 3 Lore of the Main Bosses: Stories Explained
Explore DARK SOULS 3 lore of the main bosses, from the Lords of Cinder to Gael. Learn their backstories, connections, and the tragedies behind each fight.
Jump to
Why the Main Bosses Matter to the First Flame
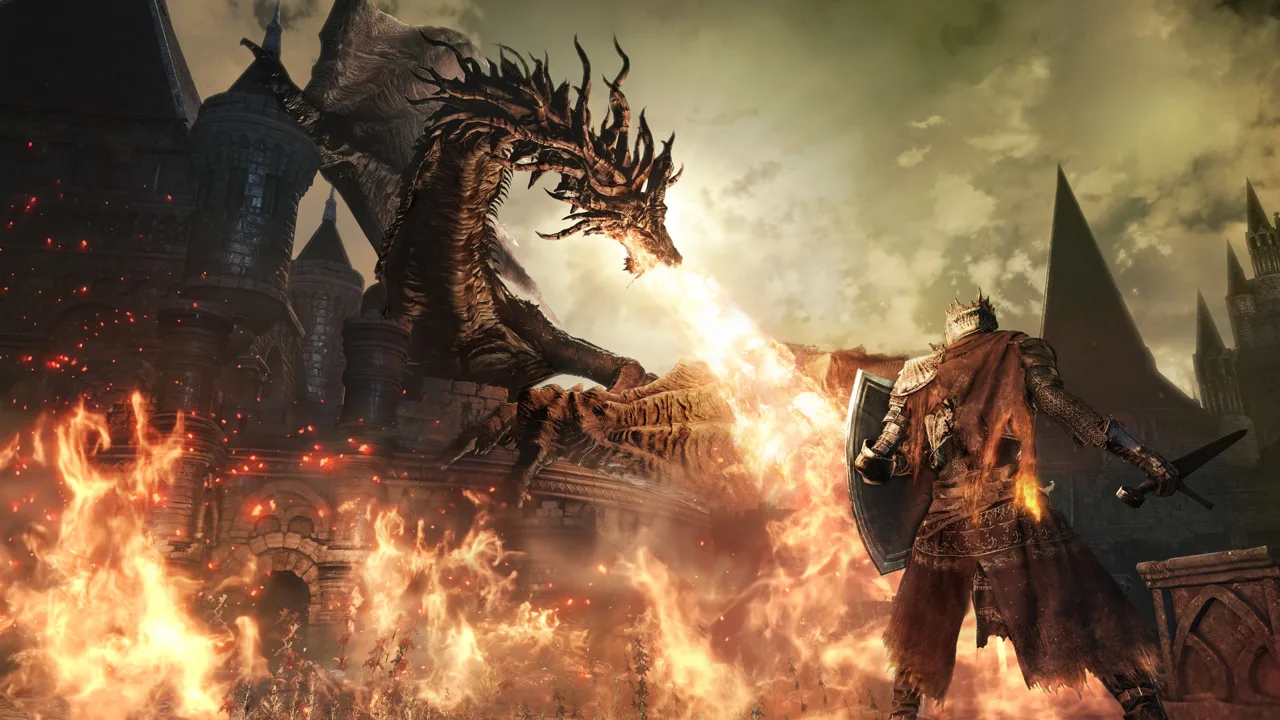
Every throne in Lothric comes with a price. DARK SOULS 3 lore of the main bosses connects ruined kingdoms, corrupted protectors, and royal heirs through the demand to keep the First Flame burning. Understanding those connections gives the battles weight: the enemies guarding your path often suffered for the very duty you have been sent to fulfill.
Spoilers ahead for the base game, Ashes of Ariandel, and The Ringed City.
Linking the fire means sacrificing yourself to prolong the Age of Fire. The Lords of Cinder have already endured that sacrifice, but when they are resurrected, most abandon their thrones. The Ashen One must retrieve their cinders and bring them back to Firelink Shrine.
Lothric complicates that mission. Although he occupies one of the central thrones in the story, he is the prince intended to become a sacrifice who refuses the role. Ludleth, meanwhile, remains friendly and helpful at Firelink Shrine.
That distinction matters throughout the game. Some bosses defend the cycle, some reject it, and others exploit the institutions built around it.
Official page: DARK SOULS™ III (bandainamcoent.com)
Gundyr and the Curses Beneath the Settlement
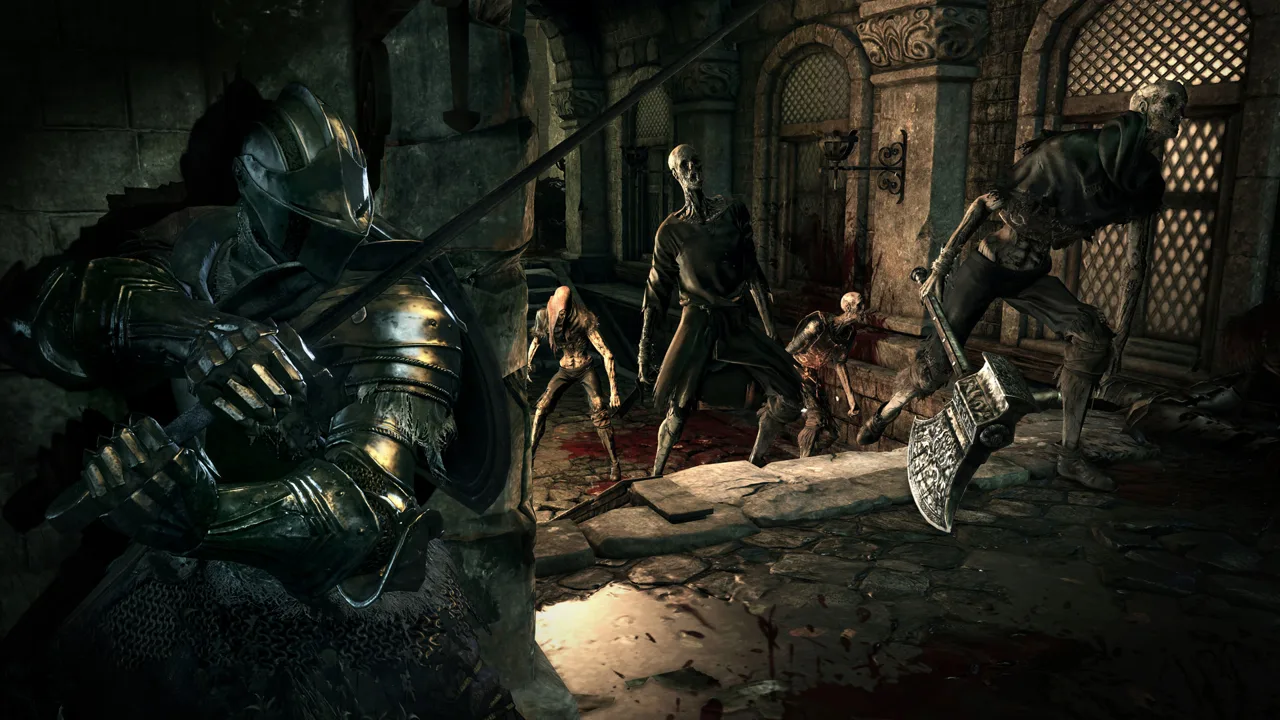 Image: Steam / FromSoftware, Inc.
Iudex Gundyr and Champion Gundyr
Gundyr arrived at a shrine where the fire had faded and the bell remained silent. His journey as a champion ended before he could fulfill its purpose.
You encounter the consequences in two forms. Iudex Gundyr tests newcomers outside Firelink Shrine, with a coiled sword embedded in his body. Champion Gundyr, found in the Untended Graves, reveals the formidable warrior behind that diminished guardian.
The second encounter changes how the opening battle reads. Gundyr possesses the strength and discipline expected of a champion, yet neither could rescue his failed opportunity.
His story also makes the darkened shrine beyond Champion Gundyr especially unsettling.
Curse-rotted Greatwood
The Greatwood holds the Undead Settlement’s accumulated curses. Years of containing that corruption transformed it into an abomination.
The swollen growths give those hidden curses a physical presence.
Read boss souls and their associated equipment before choosing a reward; many contain the clearest explanations of the enemies you just fought.
Farron, the Cathedral, and Carthus
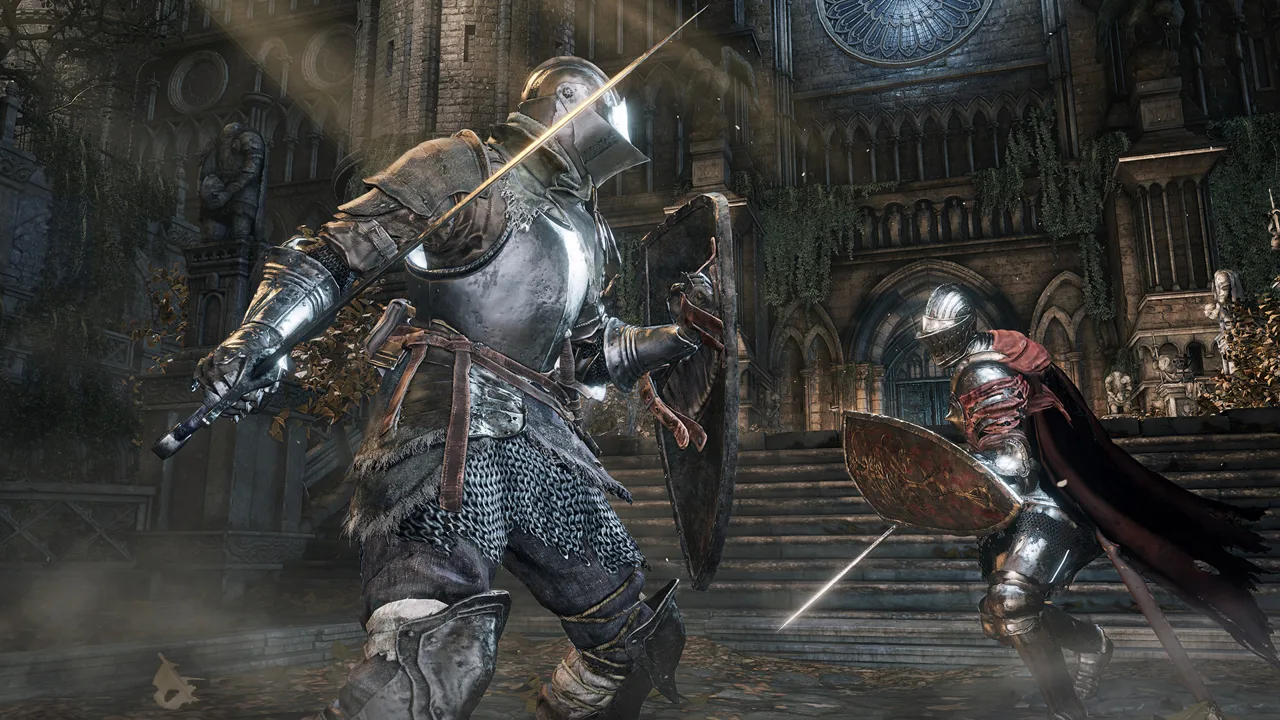 Image: Steam / FromSoftware, Inc.
Crystal Sage
The Crystal Sage belongs to a pair of scholars regarded as successors to Big Hat Logan. Their enormous hats advertise that intellectual inheritance.
The brothers eventually separated. One remained associated with the Grand Archives, while the other joined Farron’s Undead Legion.
The Sage connects two traditions that otherwise look separate: Lothric’s scholars and Farron’s warriors.
Abyss Watchers
The Abyss Watchers are Farron’s Undead Legion, an order carrying forward Artorias’ duty to oppose the Abyss. Their shared wolf blood binds them together and underpins their collective identity as a Lord of Cinder.
Their introduction tells you what has gone wrong before you exchange a blow. They are already killing one another.
The Legion’s campaign against corruption has turned inward. The warriors continue their mission among their own ranks, leaving the chamber filled with bodies and renewed violence.
In their second phase, the remaining Watcher fights with a burning blade. The fight compresses an entire order’s strength into one final opponent.
Read the Wolf Knight Armor description alongside the Soul of the Blood of the Wolf to connect their fate with Artorias’ legacy.
Deacons of the Deep
The Deacons maintain Aldrich’s religious institution after he leaves the Cathedral of the Deep. Archdeacon Royce and the high priests remain behind to watch over their master’s coffin.
That empty coffin is the crucial detail. You reach the center of the cathedral expecting Aldrich, but find the clergy preserving his place instead.
The cathedral’s sacrifices give their devotion a brutal purpose. People were brought there to feed Aldrich, and the order continued to venerate him as a saint. Its rituals helped sustain the appetite that would eventually reach Anor Londo.
High Lord Wolnir
Wolnir built his authority through conquest and sentenced countless people to death while seeking to outlive them. He eventually fell to the Abyss.
When darkness overwhelmed him, he turned to the gods for comfort. His holy sword and three golden armlets, taken from dead clerics, became his remaining protection against that terror.
His enormous skeleton initially suggests absolute power. The battle reveals how desperately he depends on a few small objects to resist being swallowed.
Pontiff Sulyvahn and the Fall of Irithyll
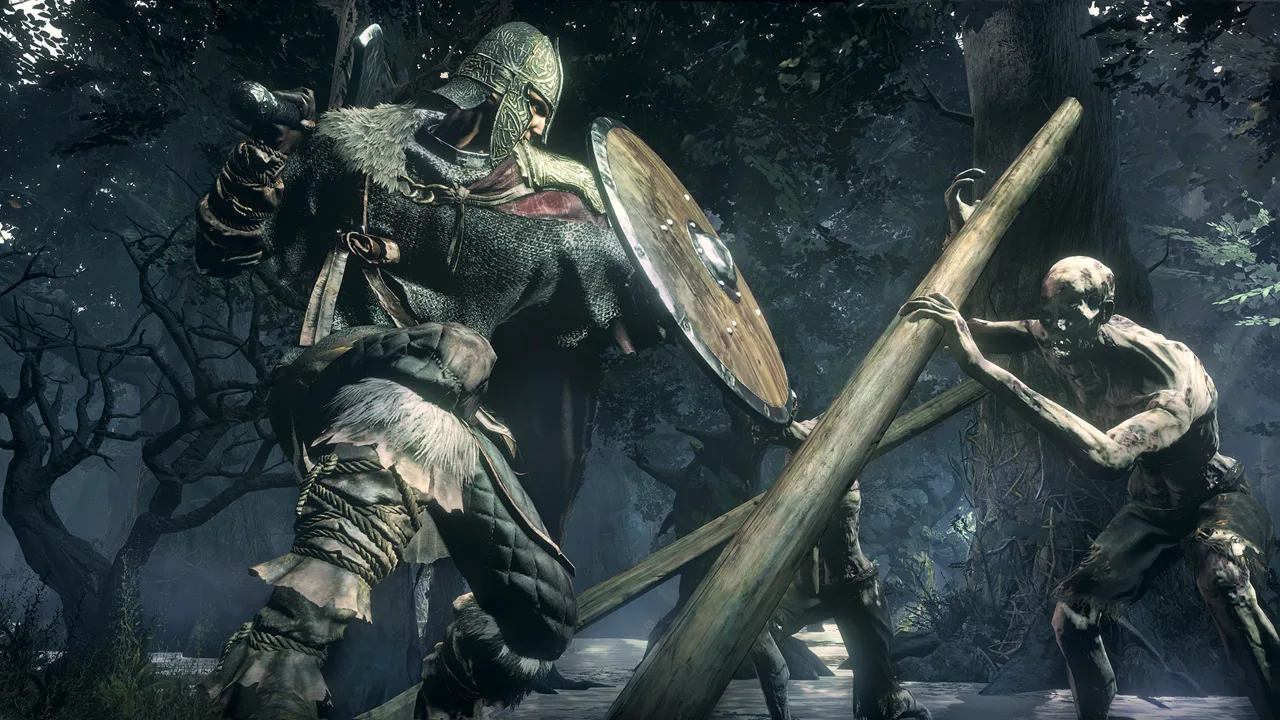 Image: Steam / FromSoftware, Inc.
Pontiff Sulyvahn
Sulyvahn originated in the painted world and rose to power in Irithyll. His influence reaches well beyond his cathedral, through the Outrider Knights, the persecution of the old royalty, and Aldrich’s access to Gwyndolin.
His treatment of his knights explains much of the horror surrounding the Boreal Valley. The eye rings he bestowed granted power while driving their wearers toward madness and beastly transformation.
Sulyvahn also imprisoned a god of the old royal family and offered him to Aldrich. That makes the route from Irithyll to Anor Londo a connected political and religious collapse.
By the time you fight him, you have already encountered the consequences of his rule in other bodies.
Vordt of the Boreal Valley
Vordt served as an Outrider Knight under Sulyvahn. His transformation explains his animalistic posture, relentless charges, and dependence on brute force.
Transpose Vordt’s soul into Pontiff’s Left Eye and read its description to understand how Sulyvahn’s gifts helped destroy the knights who wore them.
Dancer of the Boreal Valley
The Dancer’s history reaches back to the old royal family. Sulyvahn forced her into service and transformed her into an Outrider Knight.
Her movements preserve something of that earlier identity. She fights with measured steps and sweeping turns, making her degradation visible through the elegance that survives it.
Placed near Vordt on the High Wall, she represents another person displaced and transformed by Sulyvahn’s authority. Their imposing appearances conceal lives shaped by the same ruler.
Aldrich, Devourer of Gods
Aldrich began as a cleric whose taste for human flesh eventually reduced him to a mass of sludge. His strength made him suitable fuel for the First Flame, regardless of the atrocities behind it.
After returning as a Lord of Cinder, he abandoned his throne and pursued a different future. His visions concerned a coming age of the deep sea, and his appetite expanded from people to gods.
The figure rising above the sludge during the Anor Londo battle is Gwyndolin, whom Aldrich is consuming. That recognizable divine body makes the destruction of the old order disturbingly literal.
Anri and Horace give his crimes a personal dimension. Their history as children who escaped Aldrich turns the pursuit into a reckoning with a predator who survived long enough to receive a sacred title.
Yhorm and the Dying Fire of the Demons
Yhorm the Giant
Yhorm descended from a conqueror, yet the people once subjugated by his lineage asked him to rule. He became their protector while remaining aware of their distrust.
The two Storm Ruler swords express that difficult relationship. Yhorm gave one to the humans who doubted him and entrusted the other to a dear friend before becoming a Lord of Cinder.
He sacrificed himself to put the Profaned Flame to rest. The capital was nevertheless consumed by fire after he became a Lord, leaving him to return to a devastated kingdom.
Siegward’s quest brings that history into the arena. Follow his questline to bring him into the battle, where he carries Storm Ruler to fulfill his promise to Yhorm.
The weapon beside the throne belongs to this story of trust and accountability. Pick it up and use its charged skill against Yhorm; the means of defeating him is part of the responsibility he accepted as ruler.
Old Demon King
The Old Demon King is a surviving witness to the Chaos of Izalith, the catastrophe associated with the birth of demonkind.
He survives among the ruins of a fading age. His own body resembles burned remains, matching the weakened state of a race whose sustaining flame is fading.
Retreat when he prepares his late-fight explosion.
His history also connects to Lothric’s royal family. Lorian’s Greatsword recounts the elder prince’s victory over a demon prince, a battle that permanently scorched the blade. That detail places the demons’ decline within the history of another boss you will eventually face.
Lothric’s Royal Family and the Soul of Cinder
Oceiros, the Consumed King
Oceiros’ pursuit of dragon power led him toward Seath the Scaleless and away from his responsibilities as king. By the time you reach the Consumed King’s Garden, his body and behavior display the results of that obsession.
He raves and clings to the illusion of Ocelot. His later frenzy strips away his remaining royal composure.
His transformation belongs to the same dangerous pursuit of draconic knowledge that echoes across the series.
Continue beyond his arena to collect the Path of the Dragon gesture.
Dragonslayer Armour
The Dragonslayer Armour fights without its original wearer. Pilgrim Butterflies animate the abandoned suit outside the Grand Archives.
Its lightning weaponry and forceful attacks preserve the legacy of dragon hunting after the warrior inside has vanished. The silhouette promises a knightly duel, but the encounter reveals an old martial identity being operated by something else.
The airborne creatures joining the battle make that relationship visible. Look above the bridge during the fight to connect the armored opponent with the beings controlling it.
Lothric and Lorian, the Twin Princes
Lothric was intended to link the First Flame. Frail, he faced a duty that would demand his sacrifice.
Lorian, the elder brother, shared his brother’s curse. Once a warrior capable of defeating a demon prince, he now fights while supporting the younger prince’s refusal.
Together, they withdraw from the duty their kingdom expects them to perform.
Their second phase expresses their bond through the fight itself. Lorian carries Lothric, while Lothric supplies magical projectiles. Their dependence on each other becomes the encounter’s central mechanic.
Their rejection also changes your role. You arrive to enforce a sacrifice that the intended victim has consciously refused.
Soul of Cinder
The Soul of Cinder embodies the accumulated Lords who linked the First Flame. It stands as the final defender of the cycle.
The later phase invokes Gwyn through its attacks and the returning musical theme. The original sacrifice remains embedded within the many that followed it.
The related ending achievements identify the central possibilities:
- To Link the First Flame — continue the sacrifice.
- The End of Fire — let the First Flame fade with the Fire Keeper’s help.
- The Usurpation of Fire
Those choices give the final battle its tension. After spending the game retrieving unwilling Lords, you finally decide what to do with their accumulated power.
Archdragon Peak and the Forgotten God of War
Ancient Wyvern
The Ancient Wyvern guards the route through Archdragon Peak, a place filled with dragon reverence and followers of the Path of the Dragon.
Its significance comes from that setting. Away from the thrones and churches demanding another sacrifice, an older tradition survives among the mountains.
During the wyvern encounter, follow the elevated route through the arena to reach the plunging attack opportunity above its head.
The Nameless King
The Nameless King was a god of war and Gwyn’s son. He sided with the dragons, losing his standing and having his name erased from the old order’s history.
Archdragon Peak gives that erased figure a place to endure.
His presence also complicates the dragon slaying legacy elsewhere in the game. The gods’ old war produced both celebrated warriors and a divine heir who abandoned their cause.
DLC Bosses and the Search for Another World
Champion’s Gravetender and Gravetender Greatwolf
The Gravetender and Greatwolf defend a forgotten edge of Ariandel.
Their encounter gives the painted world a smaller, more personal duty alongside its larger conflict over fire and rot. Even as the painting deteriorates, its guardians continue their isolated duty.
The pairing also continues the series’ association between fallen warriors, faithful beasts, and obligations that survive their original purpose.
Sister Friede and Father Ariandel
Friede opposes the burning that would end the painted world’s decay and allow renewal. Father Ariandel participates in preserving that deteriorating world.
The battle exposes how fiercely they maintain it. Friede fights alone, Ariandel joins her after she falls, and she finally returns as Blackflame Friede.
Those three phases escalate the resistance you encounter throughout the painting. Friede commits her strength to keeping the existing world intact.
Her story mirrors the base game’s central conflict. Preserving a familiar refuge can prolong the suffering of everyone living inside it.
Demon Prince
The Demon in Pain and Demon from Below carry demonkind’s fading fire into The Ringed City.
After both fall, one rises as the Demon Prince. The transformation concentrates the demons’ remaining strength into another fierce eruption of flame.
Placed beside the Old Demon King’s final stand, this battle develops the same history on a larger scale. Demonkind retains tremendous power even as its existence approaches an end.
Halflight, Spear of the Church
The Spear of the Church protects Filianore. The title describes a defensive role whose holder can change.
That structure is part of the encounter’s meaning. The Ringed City preserves its sacred order through a duty that different individuals can fulfill.
Defeating the Spear removes the defender standing between you and Filianore’s chamber, bringing you to the threshold of the city’s final revelation.
Darkeater Midir
Midir is a dragon raised by the gods to battle the Abyss. Over time, the corruption he fought took hold within him.
By the time you descend beneath the city to fight him, that burden has overtaken its guardian.
Midir connects closely with the Abyss Watchers. Both dedicate themselves to resisting the Abyss, and both eventually carry it within themselves. His immense lifespan allows that struggle to continue until loyal service becomes ruinous.
Slave Knight Gael
Gael seeks the Dark Soul as pigment for the young painter’s new world. His journey carries him to the Pygmy Lords and the devastated landscape where you finally meet him.
Gael consumes the blood of the Pygmies and becomes a monstrous vessel for the Dark Soul.
His mission reaches its goal through the destruction of his own identity.
Continue with
 DARK SOULS 3 Nameless King: Boss Strategy and RewardsBeat the DARK SOULS 3 Nameless King with phase-by-phase tactics, elemental weaknesses, gear tips, and attack openings. Find his arena and claim rewards.
More in Bosses
DARK SOULS 3 Abyss Watchers: How to Beat Both Phases
Beat the DARK SOULS 3 Abyss Watchers with phase-by-phase tactics, lightning weakness tips, summon locations, and ways to survive the flaming sword phase.
DARK SOULS 3 Aldrich Guide: Weaknesses and Arrow Tips
Beat DARK SOULS 3 Aldrich with tips for both phases, his tracking arrow barrage, useful weapons, spell counters, Anor Londo shortcuts, and boss rewards.
DARK SOULS 3 Gael Guide: Weaknesses, Phases, and Loot
Master the DARK SOULS 3 Gael fight with phase-by-phase tactics, weaknesses, weapon tips, and rewards. Learn how to handle his cape and lightning attacks.
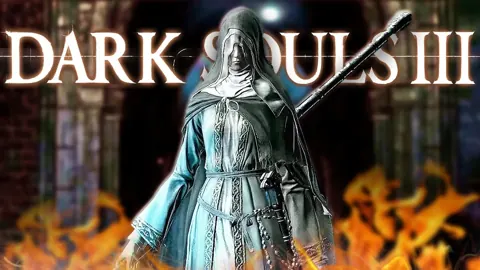
DARK SOULS 3 Sister Friede: How to Beat All Three Phases
Beat DARK SOULS 3 Sister Friede with phase-by-phase tactics, invisibility counters, gear tips, Gael summon details, and a breakdown of her boss rewards.
Continue exploring
DARK SOULS 3 DLC Guide: Order, Access, and What to Buy
Explore Dark Souls 3 DLC with entry locations, expansion order, boss tips, and edition details. Find out how Ashes of Ariandel connects to The Ringed City.
DARK SOULS 3 The Ringed City: Access and Boss Guide
DARK SOULS 3 The Ringed City guide covering DLC access, recommended level, all four bosses, valuable rings, hidden paths, and Lapp's quest. Prepare to win.
Join the community
Official channels for news, updates and player help: