
DARK SOULS 3 The Ringed City: Access and Boss Guide
DARK SOULS 3 The Ringed City guide covering DLC access, recommended level, all four bosses, valuable rings, hidden paths, and Lapp's quest. Prepare to win.
Jump to
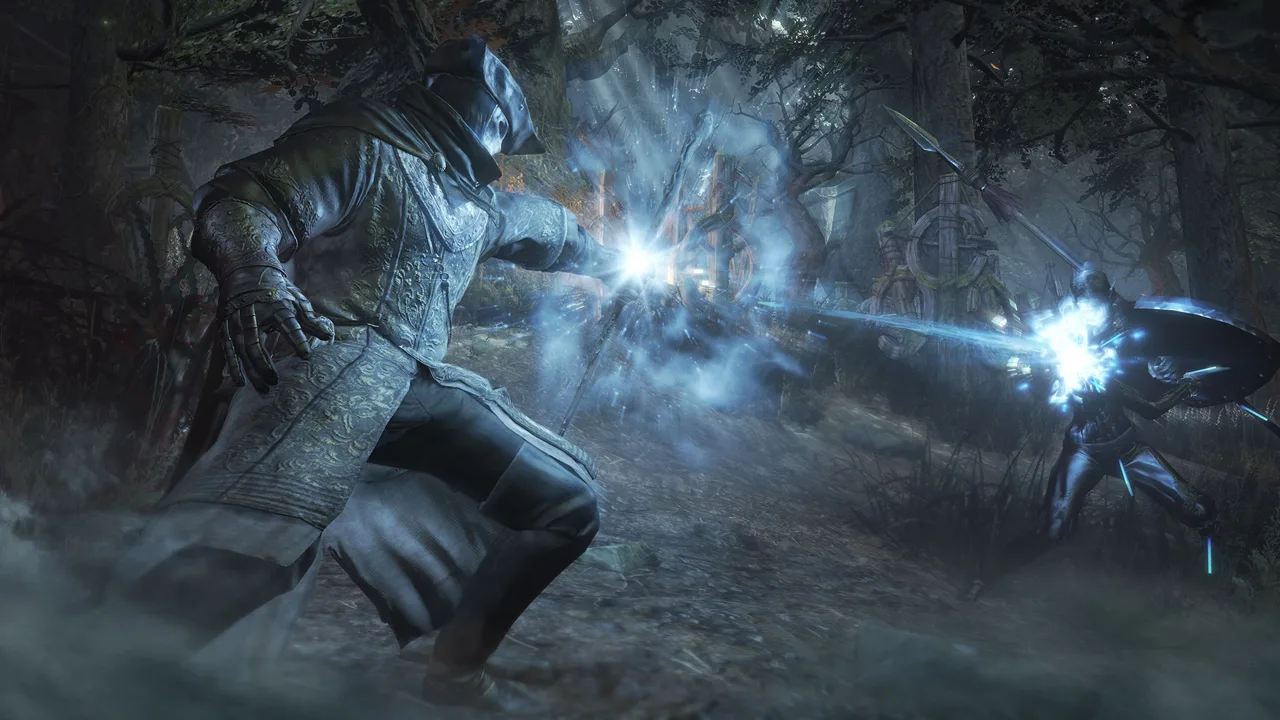
The world is collapsing, and the road ahead leads through its wreckage. DARK SOULS 3 The Ringed City brings four boss encounters, powerful equipment, and a final journey tied to Slave Knight Gael and the Dark Soul. Arrive with an upgraded weapon and a finished build, because even reaching the next bonfire can demand careful positioning.
How to Access The Ringed City
The Ringed City is the second and final expansion for Dark Souls III. Its two main regions are the Dreg Heap and the Ringed City itself, and both entrance routes take you to the Dreg Heap.
You need the base game and access to the expansion. The Season Pass and The Fire Fades Edition include both this DLC and Ashes of Ariandel.
Enter Through the Kiln of the First Flame
Reach the Kiln of the First Flame and find the additional bonfire near the approach to the Soul of Cinder arena. Interact with it to travel to the Dreg Heap.
You do not need to defeat the Soul of Cinder before entering. Reaching the Kiln gives you access to this route, so owning Ashes of Ariandel is unnecessary for starting the expansion.
Enter After Sister Friede
If you own Ashes of Ariandel, defeat Sister Friede and use the additional bonfire at the back of her arena.
If that travel bonfire does not appear after loading a save in the arena, warp to Firelink Shrine and then return to the Sister Friede bonfire.
You can travel between DLC bonfires and base-game locations throughout your journey. Return to Firelink whenever you need upgrades, supplies, or a different spell loadout.
For PC players, these base-game features carry practical value when preparing for the expansion:
| Feature | Dark Souls III on Steam |
|---|---|
| Play modes | Single-player, Multi-player, Co-op |
| Controller support | Full controller support |
| Steam achievements | 43 |
The DLC is unnecessary for those achievements, including the collectible achievements for rings and spells. If you need the expansion, you can buy The Ringed City on Steam.
Recommended Level and Equipment

Clear Lothric Castle before tackling the expansion. Use that progression milestone to guide your preparation.
Upgrade your primary weapon before entering. Match your infusion to your attributes, and avoid carrying heavy equipment that pushes your equip load to 70% or higher if you want to retain a regular roll.
Before traveling, prepare the following:
- Reinforce your Estus. Collect remaining Estus Shards and Undead Bone Shards from the base game.
- Carry an alternative damage option. Midir strongly resists fire and dark, so a caster built around those elements needs another answer.
- Stock Purple Moss Clumps. The Earthen Peak swamp exposes you to poison.
- Keep Young White Branches. They have a specific use in the city’s hidden humanity puzzle.
Split damage is calculated against defenses separately for each damage type. A larger combined attack rating therefore does not automatically mean stronger hits against every enemy. If your damage drops sharply, switch to a weapon or spell that better matches the target rather than repeatedly forcing the same element.
Dreg Heap Walkthrough: Reach the Demon Prince
The opening region stacks broken buildings, ash slopes, and exposed drops into a descending route. Angels punish lingering in the open, while Harald Legion enemies make narrow passages dangerous.

From the Dreg Heap to Earthen Peak Ruins
- Light the starting bonfire and speak with the Stone-Humped Hag. She provides a shop before you descend.
- Follow the ash-covered route into the ruins. Search the upper approach for the Aquamarine Dagger and the broken interior for the Murky Hand Scythe.
- Move between cover when an Angel begins firing. Search for the creature sustaining it; killing that creature permanently removes the associated Angel.
- Explore the building beyond the church guarded by Lothric Knights. An illusory wall leads upstairs toward Great Soul Dregs and the route to the Covetous Silver Serpent Ring +3.
- Cross the fallen tower and speak with Amnesiac Lapp. Exhaust his dialogue before continuing toward the Earthen Peak Ruins bonfire.
The Ring of Steel Protection +3 is also available early, along the exposed route near the first Angel. Collect it when you can move safely between cover.
Through the Swamp and Roots
From Earthen Peak Ruins, work through the swamp and climb the enormous roots. The Ring of Favor +3 rests on a root above the swamp, while a nearby cave contains a Titanite Slab.
Search beneath the roots for the Harald Curved Greatsword. Farther along, Desert Pyromancer Zoey blocks the route and drops Flame Fan when defeated.
Continue searching rooftops and root paths for the creatures sustaining the remaining Angels. Removing them makes exploration and item collection much easier.
Your destination is the Within the Earthen Peak Ruins bonfire. Take the plunge into the demon encounter when you are ready.
After defeating the Demon Prince, collect the Small Envoy Banner in the passage beyond the arena. Raise it at the cliff to travel to the city.
Ringed City Walkthrough: From the Walls to the Church
The city opens with an archer barrage and eventually leads through streets, a swamp, dragon-guarded crossings, and a shortcut back to the Ringed Inner Wall.
 Image: Steam / FromSoftware, Inc.
Survive the Mausoleum Lookout
- Light the Mausoleum Lookout bonfire.
- Use the stone barriers to shelter from the Judicator Giant’s summoned archers.
- Drop onto the side route on the right.
- Follow that route to the ladder, then approach the Judicator from beyond the main firing lane.
- Continue down to the Ringed Inner Wall bonfire.
Avoid sprinting straight down the exposed approach. Advance between volleys and use the side path to reach the summoner.
Descend to the Ringed City Streets
Speak with Lapp on the balcony near the Ringed Inner Wall, then descend through the buildings toward the long staircase.
At the doors above the stairs, speak with Shira and accept her request concerning Midir. Continue through the streets toward the swamp and find the Ringed City Streets bonfire in the building on the right.
Explore the swamp’s edges for equipment and side encounters. Silver Knight Ledo invades in a building overlooking the swamp, and the cliffside outside his building holds Havel’s Ring +3.
Cross Midir’s Route
Climb the collapsed building near the swamp and open the shortcut back to the Ringed City Streets bonfire.
Beyond it, cross the bridge guarded by Midir, using the cave and ledges as shelter from his fire. Continue through the interior passages toward the Shared Grave bonfire.
On the next bridge encounter, attack Midir’s hands and retreat from his fire until you knock him from the bridge. This is separate from his optional boss battle.
Proceed into the building beyond him. Open the elevator shortcut to the Ringed Inner Wall before continuing toward Filianore’s Church.
All Four Bosses and How to Approach Them
The expansion contains four boss encounters. Midir is optional; the Demon Prince, church encounter, and Gael form the main progression route.
Demon Prince
The battle begins against the Demon in Pain and Demon from Below. After both fall, the Demon Prince rises for the second phase.
Kill the Demon in Pain first to leave the Demon from Below for last. The surviving demon determines the Prince’s attack variant; this order produces the laser variant, whose beam attack creates openings to close in and punish.
Pace your healing and attacks across both phases. Defeating the opening pair does not end the encounter.
The boss soul can be transposed into Seething Chaos.
Darkeater Midir
After knocking Midir from the bridge, return to the Ringed Inner Wall elevator. Exit through the opening partway along its route, follow the passage through the illusory wall, descend the ladder, and drop into his arena.
Stay near his head and direct your attacks there. Head hits deal substantially more damage than attacking other parts of his body, making positioning essential.
Midir strongly resists fire and dark. Use lightning-based attacks if your build supports them, or bring a physical weapon. Sorcerers can also use Pestilent Mist against his large health pool.
Defeating him awards the Spears of the Church covenant item. Complete Shira’s request and return to her for a Titanite Slab.
Halflight, Spear of the Church
The church encounter changes with your online setting. Another player can be summoned to defend the church in place of Halflight, turning the battle into a PvP encounter.
Play offline if you want to face the NPC version consistently. Against Halflight, exploit openings with a weapon that can stagger or knock down humanoid opponents.
Defeating the church defender awards a Titanite Slab and opens the route to Filianore.
Slave Knight Gael
Gael waits beyond Filianore’s Rest, near the thrones of the Pygmy Lords.
During his later phases, his sword attacks reach far enough to punish repeated backward dodges. Stay close enough to dodge around his attacks, then strike during recovery. Strafe sideways to avoid his projectiles instead of retreating in a straight line.
Save healing for openings after his attacks rather than drinking while he is still advancing.
Victory awards the Blood of the Dark Soul, which connects the expansion’s ending to the Painting Woman in Ariandel.
Valuable Rings, Weapons, and Spells
Several upgraded rings are available during your initial playthrough. You do not need to enter New Game Plus to collect these DLC versions.
| Ring | Where to look | Effect |
|---|---|---|
| Ring of Steel Protection +3 | Early Dreg Heap route near the first Angel | +17% physical damage absorption in PvE |
| Covetous Silver Serpent Ring +3 | Hidden upper route beyond the Lothric Knight church | +35% souls gained |
| Ring of Favor +3 | Large root above the Earthen Peak swamp | +6% HP, +11.5% stamina, +8% equip load |
| Covetous Gold Serpent Ring +3 | Room where Lapp appears above the city swamp | Increases Item Discovery |
| Havel’s Ring +3 | Cliffside below Ledo’s invasion building | +19% maximum equip load |
| Chloranthy Ring +3 | Statue reached from the Ringed Inner Wall elevator’s side route | Increases stamina regeneration |
Use the Silver Serpent ring while earning souls and the Gold Serpent ring while farming equipment. Replace either with a combat ring before a difficult boss if its bonus will not help during the fight.
For weapons, keep an eye out for:
- Aquamarine Dagger: On the upper Dreg Heap approach.
- Harald Curved Greatsword: Beneath the roots around Earthen Peak.
- Ringed Knight Paired Greatswords: Dropped by the Ringed Knight outside the church approach.
Spellcasters have several distinct pickups. Great Soul Dregs lies beyond an illusory wall in the Dreg Heap, Flame Fan comes from Zoey, and Projected Heal sits along a lower route near Lapp’s early location.
After the bridge encounter with Midir, search the building for three successive illusory walls. Lightning Arrow waits beyond them.
Solve “Show Your Humanity” and Continue Lapp’s Quest
The inscription near the Ringed City Streets bonfire requires a specific transformation.
- Open the nearby shortcut so you can move between the bonfire building and the swamp.
- Stand in the swamp’s dark water.
- Use a Young White Branch until you transform into a humanity sprite.
- Return through the bonfire building while keeping that form.
- Approach the inscription to make a ladder descend.
- Climb it and follow the route to the Purging Monument.
Return to Lapp and tell him where the monument is. Continue speaking with him as you progress into the passages beyond Midir’s bridge.
His quest eventually reveals his connection to Unbreakable Patches. After the encounter in which he kicks you onto the lower route, return to the spot above to collect Lapp’s Set.
Filianore, Gael, and the Painting’s Ending
Story spoilers follow.
After defeating the church defender, ride the lift and approach the sleeping Filianore. Touching the cracked egg in her lap transports you to an ash-covered landscape, where the journey continues toward Gael.
Gael’s search has brought him to the Pygmy Lords and the Dark Soul. Defeating him gives you the Blood of the Dark Soul, but there is one more interaction if you own Ashes of Ariandel.
Travel to Ariandel Chapel, climb the ladder, and speak with the Painting Woman. Give her the blood so she can use it as pigment for her new painted world.
This interaction completes the connection between the expansions.
Continue with
 DARK SOULS 3 Ashes of Ariandel: DLC Walkthrough GuideExplore DARK SOULS 3 Ashes of Ariandel with a detailed route through the Painted World, boss strategies, hidden gear, and steps to unlock the PvP arena.
More in DLC

DARK SOULS 3 DLC Guide: Order, Access, and What to Buy
Explore Dark Souls 3 DLC with entry locations, expansion order, boss tips, and edition details. Find out how Ashes of Ariandel connects to The Ringed City.

DARK SOULS 3 Fire Fades Edition: DLC & Buying Guide
Dark Souls 3 Fire Fades Edition includes the base game and both DLC expansions. Compare editions, find DLC entrances, and plan a journey through Lothric.
Continue exploring

Join the community
Official channels for news, updates and player help: