
DARK SOULS 3 Can I Start With It? A Beginner's Guide
DARK SOULS 3: can I start with it? Learn what you'll miss by skipping earlier games, which class to choose, and how to handle your first hours in Lothric.
Jump to
Can You Start With Dark Souls 3?
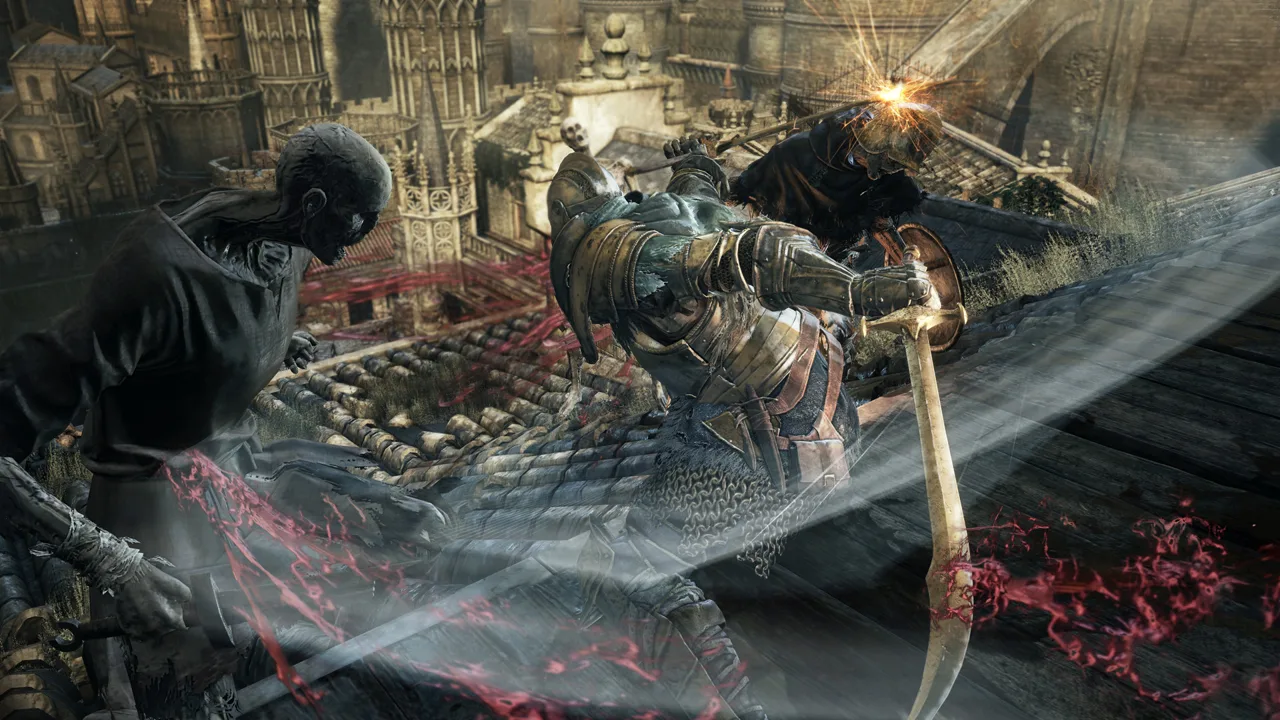
“DARK SOULS 3: can I start with it?” has a straightforward answer: yes. You can learn its combat, build a character, and complete the adventure without playing the previous games. The decision comes down to whether you want to jump into its faster combat or experience the trilogy’s story connections in order.
Expect an adjustment period, though: enemies punish careless attacks, and the opening boss arrives before you’ve had much time to practice.
The game supports several ways to approach that challenge:
| Feature | What it means for your playthrough |
|---|---|
| Single-player | You can work through the adventure on your own. |
| Co-op | You can summon help when the area’s summoning conditions are met. |
| Full controller support | You can play the PC version with a controller. |
Start here if the combat and atmosphere already interest you. Choose the original Dark Souls first if discovering the world’s history in sequence matters more to you.
Official page: DARK SOULS™ III (bandainamcoent.com)
What You Miss by Skipping the Earlier Games
Dark Souls 3 contains substantial connections to the original game, plus references to Dark Souls 2. Familiar equipment, locations, and characters carry additional meaning when you recognize them.
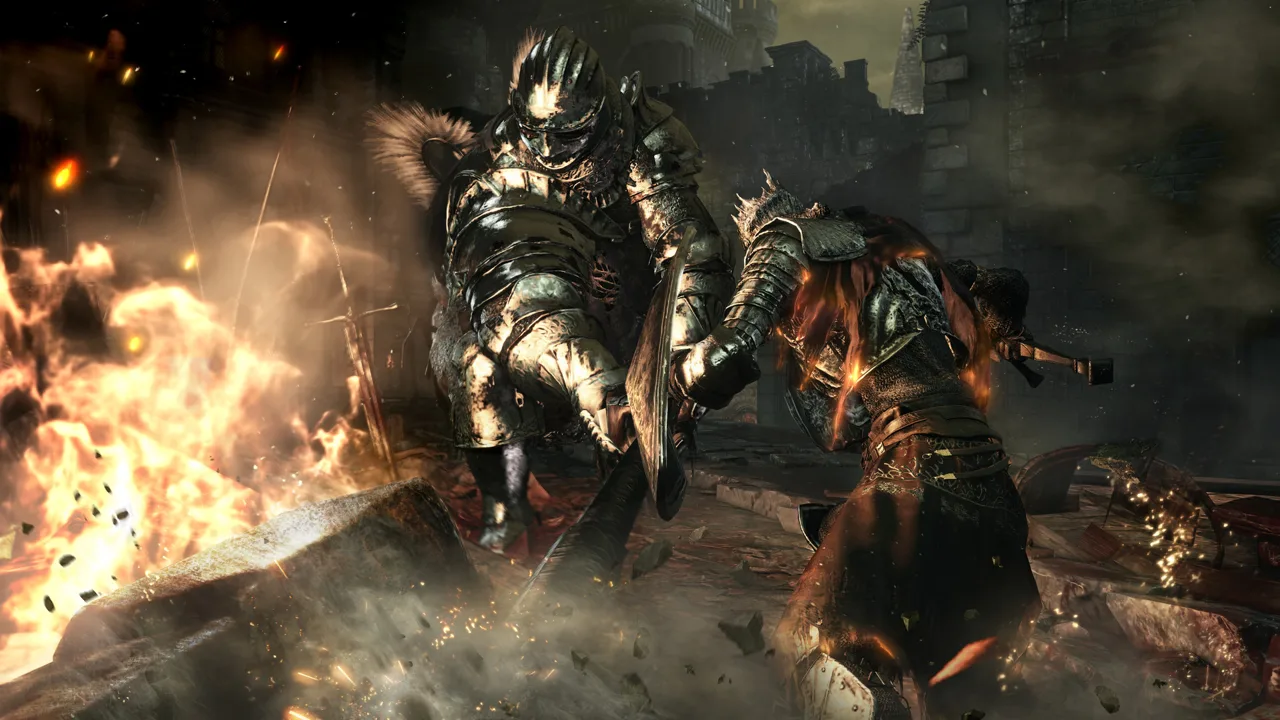 Image: Steam / FromSoftware, Inc.
Without that background, you’ll still have immediate objectives and characters to follow. What changes is the emotional weight of certain discoveries. A room that feels mysterious to a newcomer can feel mournful to someone who remembers its history.
Choose your order around what you enjoy:
- For narrative continuity: Play Dark Souls, Dark Souls 2, then Dark Souls 3.
- For a direct introduction to the third game’s combat: Begin with Dark Souls 3 and revisit the earlier entries afterward.
- For discovering lore yourself: Read item descriptions and listen carefully to dialogue during whichever game you start.
The storytelling is deliberately fragmented. Playing in order provides context, but it doesn’t turn the series into a conventional story with every answer delivered through cutscenes.
Avoid watching a complete lore explanation before deciding. It can reveal the very locations and encounters that make exploring worthwhile.
Which Starting Class Should You Choose?
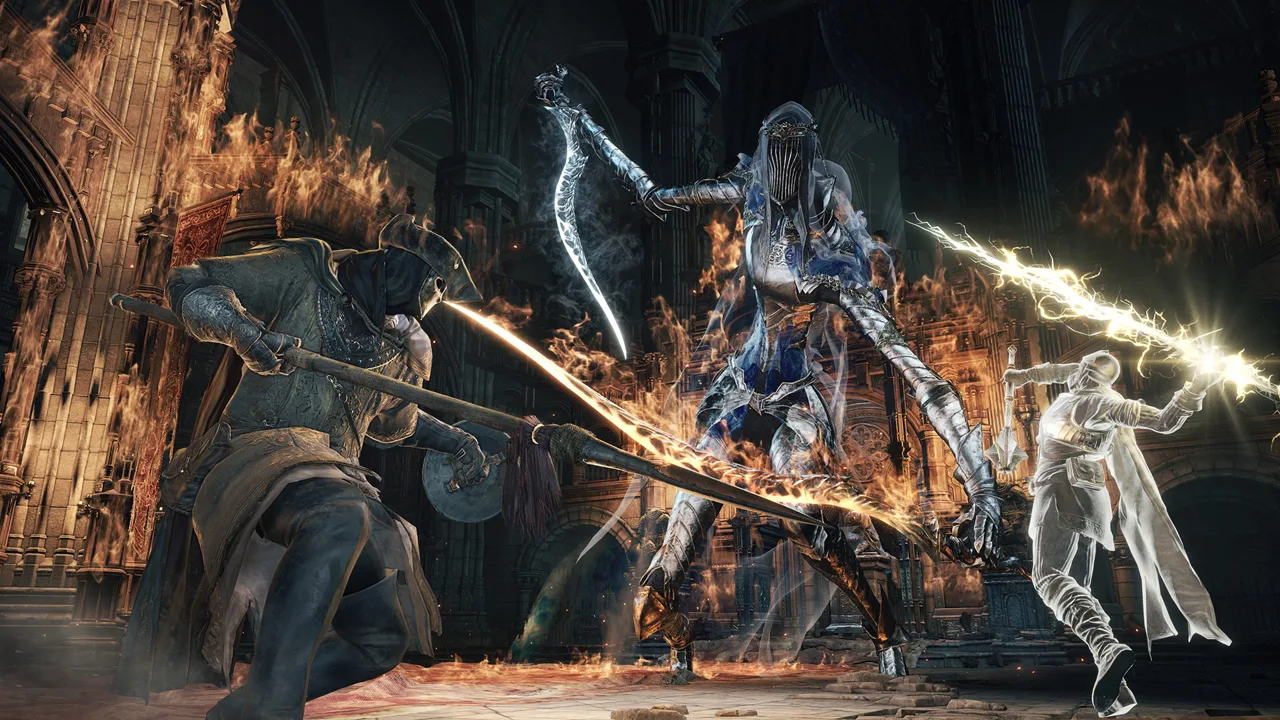 Image: Steam / FromSoftware, Inc.
Pick Knight for a straightforward melee introduction. It starts with a Long Sword and armor, giving you practical tools for learning spacing and dodging.
Your class determines your initial equipment and attributes. It does not permanently restrict your weapons or magic. A Knight can learn spells later, and a Sorcerer can develop into a melee character.
Other supported starting options include:
- Pyromancer: Starts with fire magic and its casting tool. Choose it if you want ranged attacks alongside melee.
- Mercenary: Starts with the Sellsword Twinblades. Choose it if paired weapons and an aggressive melee style appeal to you.
- Cleric: Starts with healing miracles and a mace. Choose it if you want to explore Faith-based casting.
- Sorcerer: Starts equipped for sorceries. Expect to manage casting distance and FP alongside health.
Deprived offers flexibility. You don’t need to choose it to keep future build options open.
For your burial gift, the Fire Gem offers an early weapon infusion option, but that infusion removes attribute scaling.
How to Get Through the Opening Areas
Your early route runs through the Cemetery of Ash, Firelink Shrine, and High Wall of Lothric. Focus on understanding those areas before chasing an elaborate build.
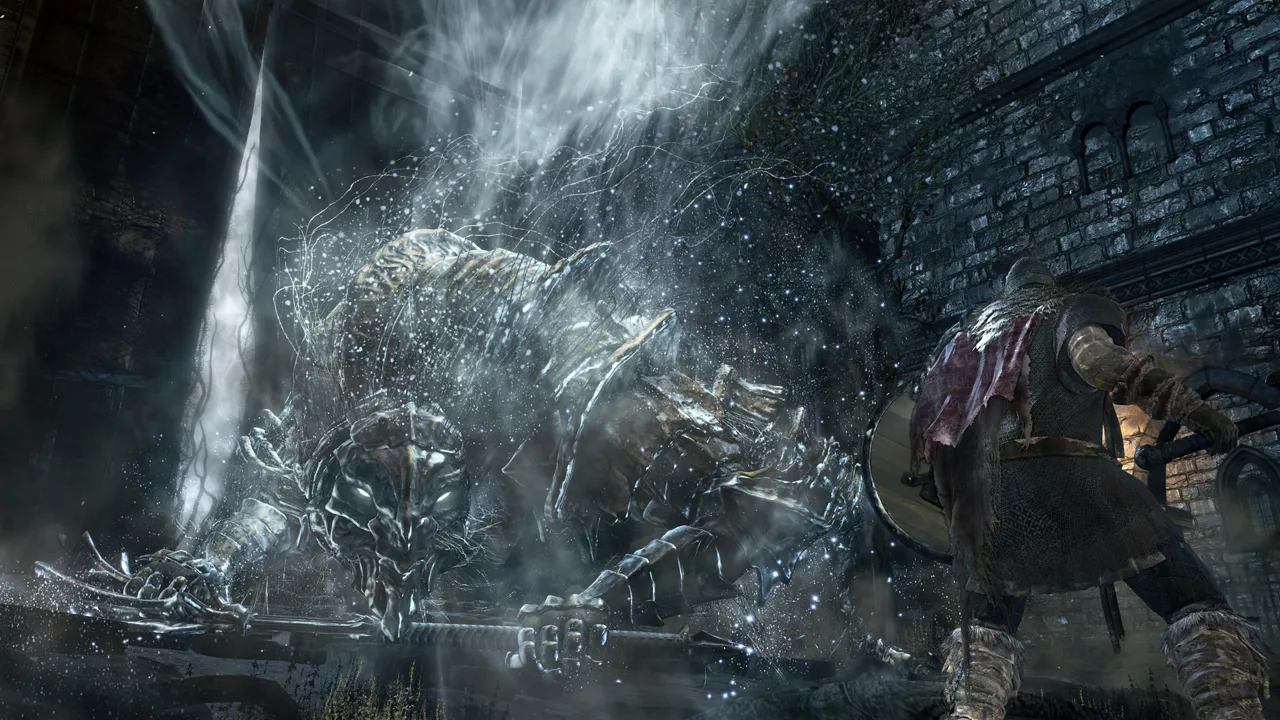 Image: Steam / FromSoftware, Inc.
- Practice against the cemetery enemies. Watch their attacks, dodge, and retaliate after they finish. Collect the Ashen Estus Flask near the fountain.
- Leave the large crystal creature for later if it overwhelms you. That side path is optional; you can continue toward the main route.
- Fight Iudex Gundyr patiently. Attack during openings between his swings. When he transforms, reassess his reach instead of continuing the same attack rhythm. Fire attacks are useful against his transformed form.
- Enter Firelink Shrine and place the Coiled Sword in the central brazier. Speak with the Fire Keeper, Shrine Handmaid, and Blacksmith Andre.
- Travel from the shrine bonfire to the High Wall of Lothric. This is how you reach the next main area.
- Explore for the Tower on the Wall bonfire and shortcuts.
On the High Wall, look for the Estus Shard on an altar in the large indoor room and the Cell Key down the nearby stairs. The shard improves your flask capacity through Andre; the key lets you free Greirat from his cell beneath the Tower on the Wall.
Obtain the Small Lothric Banner before moving on from the High Wall. After defeating Vordt of the Boreal Valley, use the banner to continue.
Combat Habits That Make the Learning Curve Easier
Dark Souls 3 moves quickly, but constant attacking leaves you exposed. Build these habits before worrying about advanced techniques.
Keep stamina available for an escape
Attacking, blocking, sprinting, and rolling consume stamina. Stop your attack sequence while you still have enough left to dodge.
If an enemy survives your combo, that doesn’t automatically mean you should swing again. Let stamina recover and look for the next opening.
Keep equip load below 70%
At 70% equip load and above, your roll becomes slower and shorter. Remove spare equipped weapons or switch armor pieces if you cross that threshold.
Only equipped gear contributes to equip load. Weapons sitting unused in your inventory don’t weigh down your roll.
Learn dodging before demanding perfect parries
Rolling gives you a brief period of invulnerability. Practice timing it against individual attacks instead of repeatedly pressing dodge whenever an enemy approaches.
Use your shield and dodge together while you learn enemy movesets.
Test your weapon beyond its light attack
Try charged heavy attacks and the weapon’s skill, also called a Weapon Art. Skills can provide different attacks or utility, and generally consume FP.
Experiment near a bonfire before relying on an unfamiliar move in a boss fight. Pay attention to its reach, recovery time, and resource cost.
Separate groups when possible
Lure enemies away from crowded rooms. Fighting one opponent gives you space to read its attacks; charging into several can leave you taking hits from outside the camera.
Spend Levels and Upgrade Materials With a Purpose
For an early melee character, prioritize surviving mistakes and upgrading a weapon you enjoy. Meet its attribute requirements, then invest in health and enough stamina to support your attacks and dodges.
Keep these attributes straight:
- Vigor: Increases maximum HP.
- Endurance: Increases stamina.
- Vitality: Increases maximum equip load.
- Strength and Dexterity: Improve damage on weapons that scale with those attributes.
- Attunement: Increases FP and grants spell slots at particular thresholds.
- Intelligence and Faith: Support spellcasting and equipment that scales with them.
Don’t spread levels across every damage attribute simply to try each weapon you find. Read its requirements and attribute bonuses first.
Andre reinforces ordinary weapons using Titanite Shards, Large Titanite Shards, Titanite Chunks, and eventually a Titanite Slab. Standard weapons reach +10; certain special weapons use different upgrade materials.
Reinforcement and infusion are separate systems. Reinforcement improves the weapon; infusion changes properties such as scaling or damage type.
Heavy emphasizes Strength, Sharp emphasizes Dexterity, and Refined supports both. Fire and Raw remove scaling. Compare the displayed damage with your current attributes before spending a gem, and keep reinforcing your weapon even if you haven’t settled on an infusion.
Understand Estus, FP, and Embers
Your healing and casting resources share a flask allocation system:
- Estus Flask: Restores HP.
- Ashen Estus Flask: Restores FP.
- Estus Shards: Increase total flask uses when given to Andre.
- Undead Bone Shards: Improve flask restoration when burned at the Firelink Shrine bonfire.
The maximum total is 15 flask uses. Andre lets you divide those uses between health and FP restoration.
Allocate more healing if you mostly fight with ordinary melee attacks. Keep Ashen Estus available if spells or weapon skills form a substantial part of your offense.
To cast, you need an attuned spell, its required attributes, and a compatible casting tool. Sorceries generally use staffs, pyromancies use a Pyromancy Flame, and miracles use chimes or talismans.
Embers provide a separate benefit: becoming Embered increases maximum HP by 30% and enables summoning under the appropriate conditions. It also opens you to invasions. Dying removes that Embered state.
Save Embers for attempts where you want the additional health or summoning support. When practicing an unfamiliar boss, spend a few attempts learning its attacks before consuming another one.
Explore Carefully and Protect Your Options
Return to Firelink Shrine regularly. Speak with NPCs until their dialogue repeats, examine unfamiliar items, and deliver relevant upgrade materials. Characters and conversations change as you progress.
Keep boss souls until you’ve inspected their transposition choices. Defeating Curse-rotted Greatwood awards the Transposing Kiln; give it to Ludleth at Firelink Shrine to unlock exchanges for special equipment. Consuming a boss soul for currency spends the same item those exchanges require.
Treat these discoveries with care:
- Chests: Strike a chest once before opening it if you’re unsure.
- Unusual walls: Attack suspicious surfaces to test for illusory walls.
- Friendly characters: Talk before attacking. Killing an NPC can remove services or end a quest.
- Side paths: Search them for healing upgrades, equipment, and optional encounters.
- NPC questlines: Consult a focused walkthrough if preserving a particular character’s outcome matters to you; some steps conflict or depend on progression.
You don’t need every collectible or quest reward to finish your first adventure. Explore at your own pace, keep your weapon reinforced, and give yourself enough health to survive the next lesson.
Continue with
 DARK SOULS 3 Gameplay Guide: Combat, Builds, and BossesMaster DARK SOULS 3 gameplay with tips for stamina, starting classes, weapon upgrades, early bosses, exploration, and co-op. Build a stronger Ashen One.
More in Guide
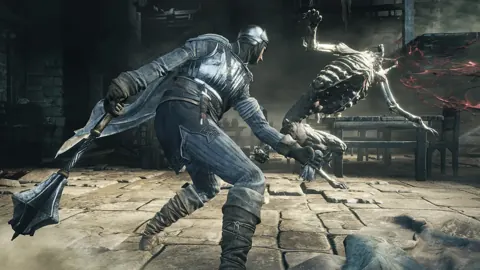
DARK SOULS 3 Beginner Guide: Survive Your First Hours
Use this DARK SOULS 3 beginner guide to choose a class, level smarter, upgrade weapons, manage Estus, and learn combat before taking on Lothric's bosses.
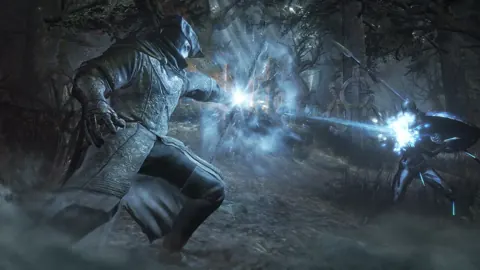
DARK SOULS 3 How Long To Beat: Story, DLCs, and 100%
DARK SOULS 3 how long to beat depends on your goals. Compare main story, optional bosses, both DLCs, and all-achievement times to plan your playthrough.
Continue exploring
Join the community
Official channels for news, updates and player help: